
Floor Buffer Won't Start? 8 Common Causes and Quick Fixes
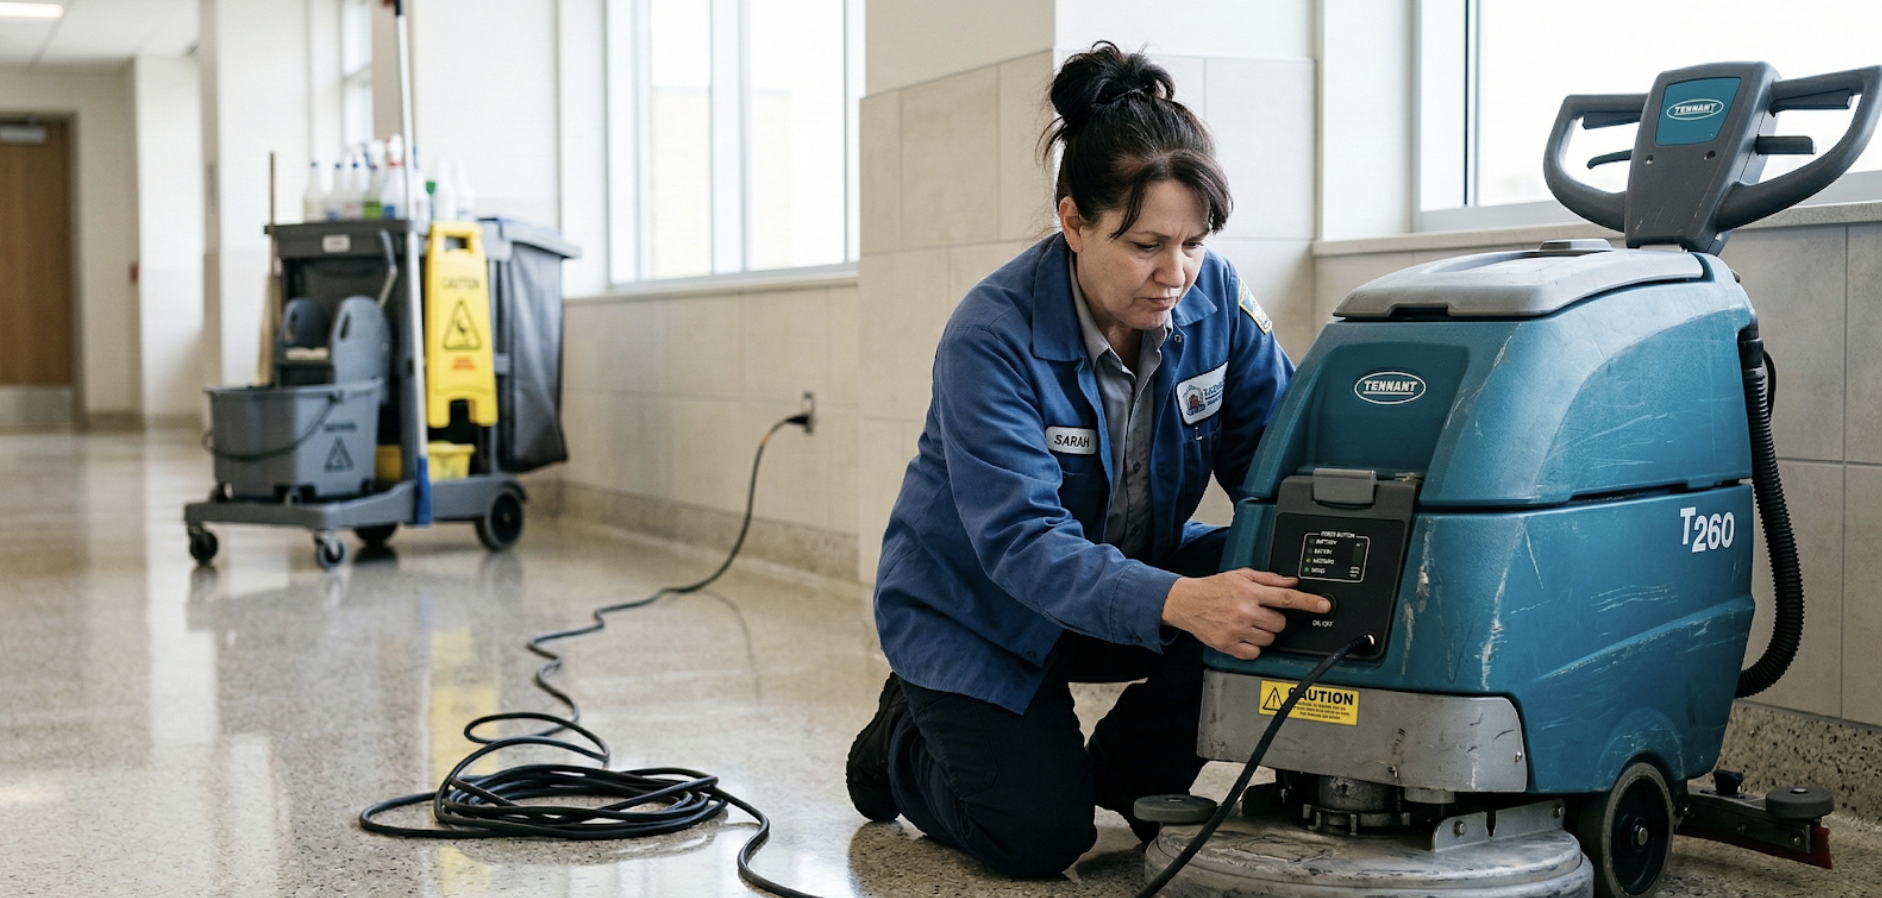
Why Your Floor Buffer Won’t Start
There’s nothing more frustrating than gearing up for a thorough cleaning session only to find your floor buffer refusing to start. Whether you’re prepping your equipment for daily use or tackling a specific cleaning project, a non-responsive buffer can throw your entire cleaning process off course. Fortunately, most common floor scrubber problems—including floor buffers, burnishers, and scrubbers—stem from straightforward causes such as power supply issues, dead batteries, faulty switches, or minor wiring faults. The good news is that with a little targeted troubleshooting, you can often get your equipment running smoothly again in no time. This guide explores the eight most common causes your floor buffer won’t start, along with quick, actionable fixes, so you can restore cleaning performance fast.
1. Dead or Disconnected Battery
Common Signs
- The machine shows no power at all
- Indicator lights don’t turn on
- The motor doesn’t attempt to start
When your floor buffer is completely unresponsive—no lights, no motor activity—it’s likely a battery issue. Rechargeable machines, including many modern floor scrubbers and burnishers, rely on the battery being both fully charged and properly connected to the control panel.
Quick Fix
- First, check that the battery is fully charged. Use the indicator if available, and charge if necessary.
- Double-check that all battery cables are securely attached to their terminals and that connections are tight and free of movement.
- Inspect the terminals for any sign of corrosion, which can interfere with the flow of power—clean carefully with a battery terminal brush if needed.
- If the machine still doesn’t hold power, it might be time to replace the battery—especially if it no longer holds a charge after repeated cycling.
Regularly checking your batteries before starting a cleaning session can help prevent many common floor scrubber problems from catching you off guard.
2. Faulty Power Cord or Plug
Common Causes
- Frayed power cord
- Loose or damaged plug
- Internal wiring issues
Corded electric floor buffers and floor scrubbers rely heavily on a robust power cord and a solid connection to the power outlet. A frayed power cord or a damaged plug is not just a downtime risk, but also a safety hazard.
Quick Fix
- Inspect the entire length of the cord—look for cuts, exposed wiring, or kinks.
- Check the plug as well; it should fit snugly into the power outlet without any wobbling.
- Test the outlet by plugging in another device to confirm it’s working.
- If you spot damage—whether to the cord, plug, or internal wires—replace the cord immediately. Using damaged cords risks electrical faults and equipment damage.
Loose connections and worn cords are some of the most overlooked but common floor burnisher issues that can easily be avoided with routine visual checks.
3. Tripped Circuit Breaker or Blown Fuse
Why This Happens
- Electrical overload
- Faulty outlet or power source
- Internal electrical surge
If your equipment suddenly cuts out or won’t power up when plugged in, a tripped circuit breaker or a blown fuse could be the culprit. Floor buffers draw significant power, which can sometimes overwhelm weaker circuits—especially if too many devices are connected at once.
Quick Fix
- Locate your building’s circuit breaker panel and check for any breakers that are in the “off” or “tripped” position.
- Reset the breaker—flip it to “off,” then back to “on.”
- Examine and replace any blown fuses if your setup uses them.
- You might also want to try a different power outlet, as an overloaded or faulty outlet can also cause these interruptions.
Using dedicated circuits and not daisy-chaining multiple cleaning machines helps avoid unnecessary circuit breaker trips during the cleaning process.
4. Safety Switch or Interlock Not Engaged
Common Situations
- Handle not in operating position
- Safety trigger not activated
- Tank or cover not properly seated
Modern floor buffers, burnishers, and floor scrubbers are built with safety in mind—many have interlocks or switches that prevent accidental start-up. If these aren’t properly engaged, the machine will refuse to start, even if everything appears powered up.
Quick Fix
- Confirm every safety latch and switch—ensure the handle is locked into its designated operating position.
- Engage the safety trigger or button as specified by the manufacturer.
- Ensure all removable or moving components—such as the solution tank or protective covers—are securely attached and properly seated.
- Some floor buffers won’t start if a pad driver or vacuum hose isn’t properly connected, so verify these critical pieces before moving on.
Properly connecting all safety switches and components ensures both user safety and optimum cleaning efficiency.
5. Worn or Faulty Start Switch
Symptoms
- Buffer briefly powers on then stops
- Trigger or switch feels loose
- No response when pressing the power button
Over time, the start switch on your floor buffer or floor burnisher can become worn out or faulty, making it unreliable—or totally nonresponsive.
Quick Fix
- Press the start switch or trigger and note if it feels loose or inconsistent.
- Inspect the wiring that connects the switch to the motor and control panel for any loose connections.
- Replace the switch if you notice inconsistent activation, excessive play, or visible damage.
A malfunctioning start switch is a prime example of a small floor scrubber problem that can interrupt a cleaning session but is often easy to fix with a replacement part.
6. Motor Overload or Overheating
Possible Causes
- Clogged vents restricting airflow
- Excessive pad pressure
- Extended use without cooling time
Heavy use, incorrect floor pads, or prolonged cleaning sessions can cause the vacuum motor or buffer motor to overheat or shut down from overload. Blocked air vents are a common floor burnisher issue affecting internal cooling.
Quick Fix
- If the machine shuts down abruptly, give it time to cool before attempting to restart.
- Examine and clean all air vents and filters to ensure unobstructed airflow. Remove dust, lint, or debris that can impact cooling.
- Avoid pressing down too hard during use—excessive pad pressure increases motor load and reduces equipment lifespan.
- Use only the right type and size of floor pad—using the wrong floor pad (too coarse or too large) forces the motor to work harder, risking overheating.
- If overheating persists, stop and inspect the vacuum motor and internal components for further troubleshooting.
Keeping airflow paths clear and using the correct accessories is crucial for maintaining cleaning performance and protecting equipment.
7. Loose Internal Wiring or Electrical Faults
What to Look For
- Intermittent power issues
- Machine starts and stops randomly
- Sparks or unusual smells
Intermittent or random shutoffs point to internal wiring faults—these loose connections are some of the most challenging common floor scrubber problems to trace without opening the machine. Discoloration, burning odors, or strange noises often signal that repairs are needed.
Quick Fix
- Unplug the machine and inspect any visible wiring behind access panels for loose or disconnected cables.
- Carefully tighten connectors, ensuring everything is securely fastened.
- Never attempt extensive repairs if you’re unsure—dealing with internal wiring or control panel issues should be left to qualified technicians to avoid the risk of electric shock or further damage.
Regular preventative maintenance checks for loose connections can prevent small issues from escalating into costly repairs.
8. Motor Failure
Signs the Motor May Be Failing
- Burning smell
- Loud humming with no movement
- Repeated failure to start
Motor failure, while less common, requires immediate attention. If you notice a burning odor, the unit hums loudly but doesn’t rotate, or it simply won’t start after repeated attempts, the motor may be done for.
Recommended Solution
- Inspect for mechanical blockage—such as debris caught around the pad driver or hidden beneath the floor pad.
- Replace worn internal motor components if you’re experienced, or replace the motor unit if it’s burnt out.
- If none of these steps resolve the problem, consult a professional technician or take your machine to an authorized service center for a full diagnosis and repair.
Motor issues are often the result of prolonged neglect or repeated overload, and should always be addressed promptly to restore cleaning efficiency and extend the machine’s life.
When to Call a Professional Technician
Although many troubleshooting steps are simple, electrical faults, severe wiring issues, or motor failures should be addressed by trained professionals. Attempting complex electrical repairs without the proper tools or skill can worsen the problem or even compromise your safety. If you’re unsure or uncomfortable, don’t hesitate to call a certified floor care technician for help—the investment is far less than the cost of a ruined machine.
Preventative Maintenance Tips to Avoid Startup Problems
Perform Regular Equipment Inspections
A simple visual inspection prior to every use can uncover early warning signs of frayed power cords, loose connections in the vacuum hose, or malfunctioning control panels. Spending a few moments checking these parts before each cleaning session allows you to address small issues before they escalate.
Maintain Batteries Properly
Charge your batteries regularly, avoid over-discharging, and keep terminals clean and free of corrosion. Store batteries in a temperate, dry environment and follow the manufacturer’s recommended maintenance schedule for best results. Well-maintained batteries are less likely to cause sudden failure.
Clean and Store the Machine Correctly
After every use, remove debris from the pad driver area, vacuum hose, and solution tank. Clean the floor pad to prevent hardened buildup, which can negatively impact both cleaning solution distribution and the machine’s cleaning efficiency. Always store your floor buffer, floor burnisher, or scrubber in a dry, dust-free space—away from harsh chemicals and moisture.
Final Thoughts
Most floor buffers fail to start for surprisingly simple reasons—from an unplugged power cord to a safety interlock that hasn’t been properly engaged. By systematically troubleshooting the issues outlined above, you can quickly diagnose and fix the majority of common floor scrubber problems without professional help. Staying proactive with regular inspections, appropriate battery care, and proper maintenance ensures your equipment delivers peak cleaning performance every time you need it. Keep your floor buffer in top condition, and the next cleaning session will run smoothly from start to finish.