
Floor Scrubber Maintenance 101: Preventing Leaks & Maximizing Suction
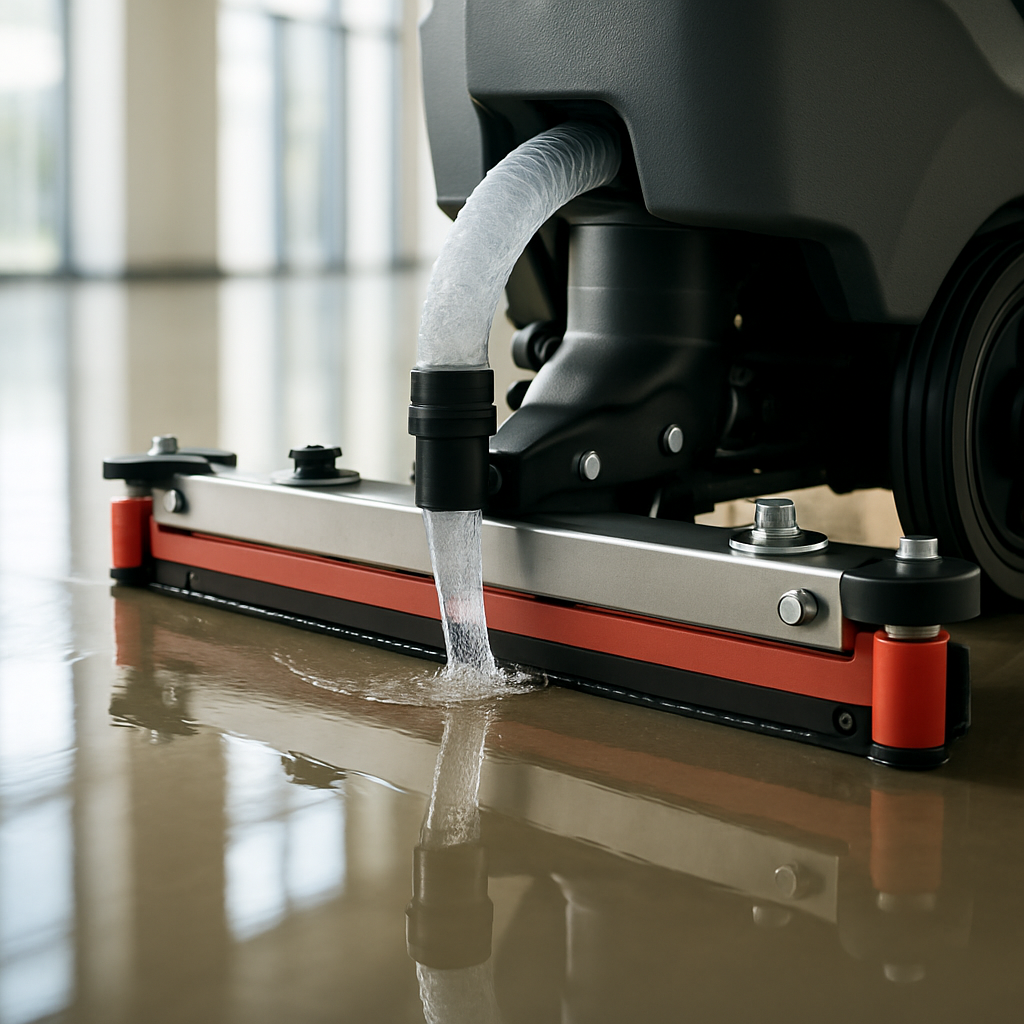
Alright, let's talk about something often overlooked but absolutely crucial: floor scrubber maintenance. Whether you’re running a cozy little café or overseeing a sprawling commercial complex, keeping your floor scrubber in tip-top shape isn’t just about avoiding headaches—it’s about safeguarding your investment. When we commit to a solid scrubber maintenance routine, we’re essentially extending the life of our machine, preventing pesky leaks, and keeping that suction power cranking throughout every cleaning process. At the end of the day, proper maintenance means consistent overall cleaning performance that’s more than just good enough—it’s spot on.
Why Floor Scrubber Maintenance Matters
Ever noticed how a stitch in time saves nine? That’s especially true here. By staying on top of your floor scrubber maintenance, you dodge costly repairs that could gobble up your budget faster than you can say "emergency fix." Plus, let’s be honest—nothing kills cleaning mojo like weak suction or streaky floors. Maintaining your squeegee blades, vacuum hose, and solution tank means picking up every last drop of water and cleaning solution efficiently, so your floors end up looking flawless. Besides, no one wants to deal with leaks leaking all over the place—messy floors and potential damage included. Keeping your floor scrubber in shape not only prolongs its lifespan but also means you’re creating a safer, slip-free environment for everyone around.
Daily Floor Scrubber Maintenance
Every day, after putting the scrubber through its paces, there are a few non-negotiables we have to tackle:
- Empty & Rinse Recovery Tank
Don’t just dump the muck—empty that recovery tank completely. We hate stagnant water—smelly, moldy messes are no joke. Give it a good rinse to keep things fresh and hygienic. - Rinse Solution Tank & Lines
Cleaning solution buildup can seriously muck up your cleaning procedure. Flush out the solution tank and lines with clean water so they don’t clog or corrode. - Inspect Vacuum Hose & Filters
Cracks, blockages, loose fittings—check ‘em all. Your vacuum hose and filters are the unsung heroes of suction power. Keep them clean and replace filters when needed. - Clean Squeegee Assembly & Blades
Dirty or damaged squeegee blades are like trying to mop with a leaky bucket—ineffective. Wipe them down regularly to avoid streaks and poor water pickup. - Check Brush/Pad Wear
Worn brushes or pads? Out they go. You want maximum scrubbing action, right? - Proper Battery Charging
Batteries might seem like a set-it-and-forget-it deal, but that’s a trap. Follow manufacturer charging guidelines to avoid unexpected power loss during your cleaning process.
Weekly & Monthly Preventive Tasks
Now, maintenance isn’t just a daily affair. Weekly and monthly tasks come into play to keep your scrubber humming along smoothly.
Weekly Maintenance
- Tighten hoses and clamps—loose parts mean leaks waiting to happen.
- Clean under skirts and wheels where dirt loves to hide.
- Inspect and clean vacuum motor filters to keep airflow on point.
- Lubricate moving parts if your model calls for it—friction is the enemy.
Monthly Maintenance
- If you’re using wet cell batteries, keep an eye on water levels and top off with distilled water when needed.
- Test battery voltage to catch fading power early.
- Descale tanks and solution lines if your water’s hard—you don’t want mineral buildup ruining things.
Common Floor Scrubber Problems & Fixes
So, what happens when things go sideways? Here’s your quick cheat sheet:
Leaks from Hoses or Tanks
Usually cracks, loose fittings, or blockages. Tighten fittings, swap out bad hoses, and flush clogged sections.
Weak Suction or Poor Water Pickup
Often caused by tired squeegee blades, clog-choked vacuum hoses, or a jam-packed recovery tank. Cleaning or replacing these parts and emptying the tank usually does the trick.
Streaks on Floors
If your floors look like a zebra, it’s time to check those squeegee blades and pads. Dirt buildup or the wrong pads can sabotage your shine.
Battery Issues
Overcharging or letting batteries run flat spells trouble. Stick to proper charging habits and don’t hesitate to replace old batteries that refuse to hold a charge.
Pro Tips for Maximizing Suction & Preventing Leaks
Here’s where the rubber meets the road—or the scrubber meets the floor:
- Sweep or mop beforehand—less debris means less chance of clogging your vacuum hose or solution tank.
- Leave tank lids open when storing your machine to keep mold and funky smells at bay.
- Raise squeegee blades when the scrubber’s parked to avoid warping.
- Use the right cleaning chemicals; wrong ones lead to gnarly residue buildup.
- Train your team thoroughly—an auto floor scrubber is only as good as the person behind it.
When to Call for Professional Service
Sometimes, no matter how hard you try, the problem just won’t budge. That’s when you bring in the pros, especially for:
- Persistent leaks that refuse to quit.
- Suction issues that linger after all your cleaning and part swaps.
- Batteries that are more dead than alive.
- Strange noises, unfamiliar smells, or blinking error codes—these are red flags for deeper mechanical or electronic issues.
The Takeaway for Smarter Maintenance
Look, if there’s one thing we’ve learned from our clients, it’s this: routine floor scrubber maintenance really is the secret sauce. It keeps everything running smoothly, keeps those leaks and weak suction at bay, and saves you from costly unplanned equipment downtime. Creating a regular maintenance checklist—or better yet, a service plan—helps you stay one step ahead. If you’re serious about your floor cleaning procedure, giving your floor scrubber the proper maintenance attention it deserves isn’t just smart; it’s essential. After all, a well-kept scrubber isn’t just a machine—it’s your partner in crime for spotless floors and a safe, happy workspace.