
How to Adjust a Floor Scrubber Squeegee
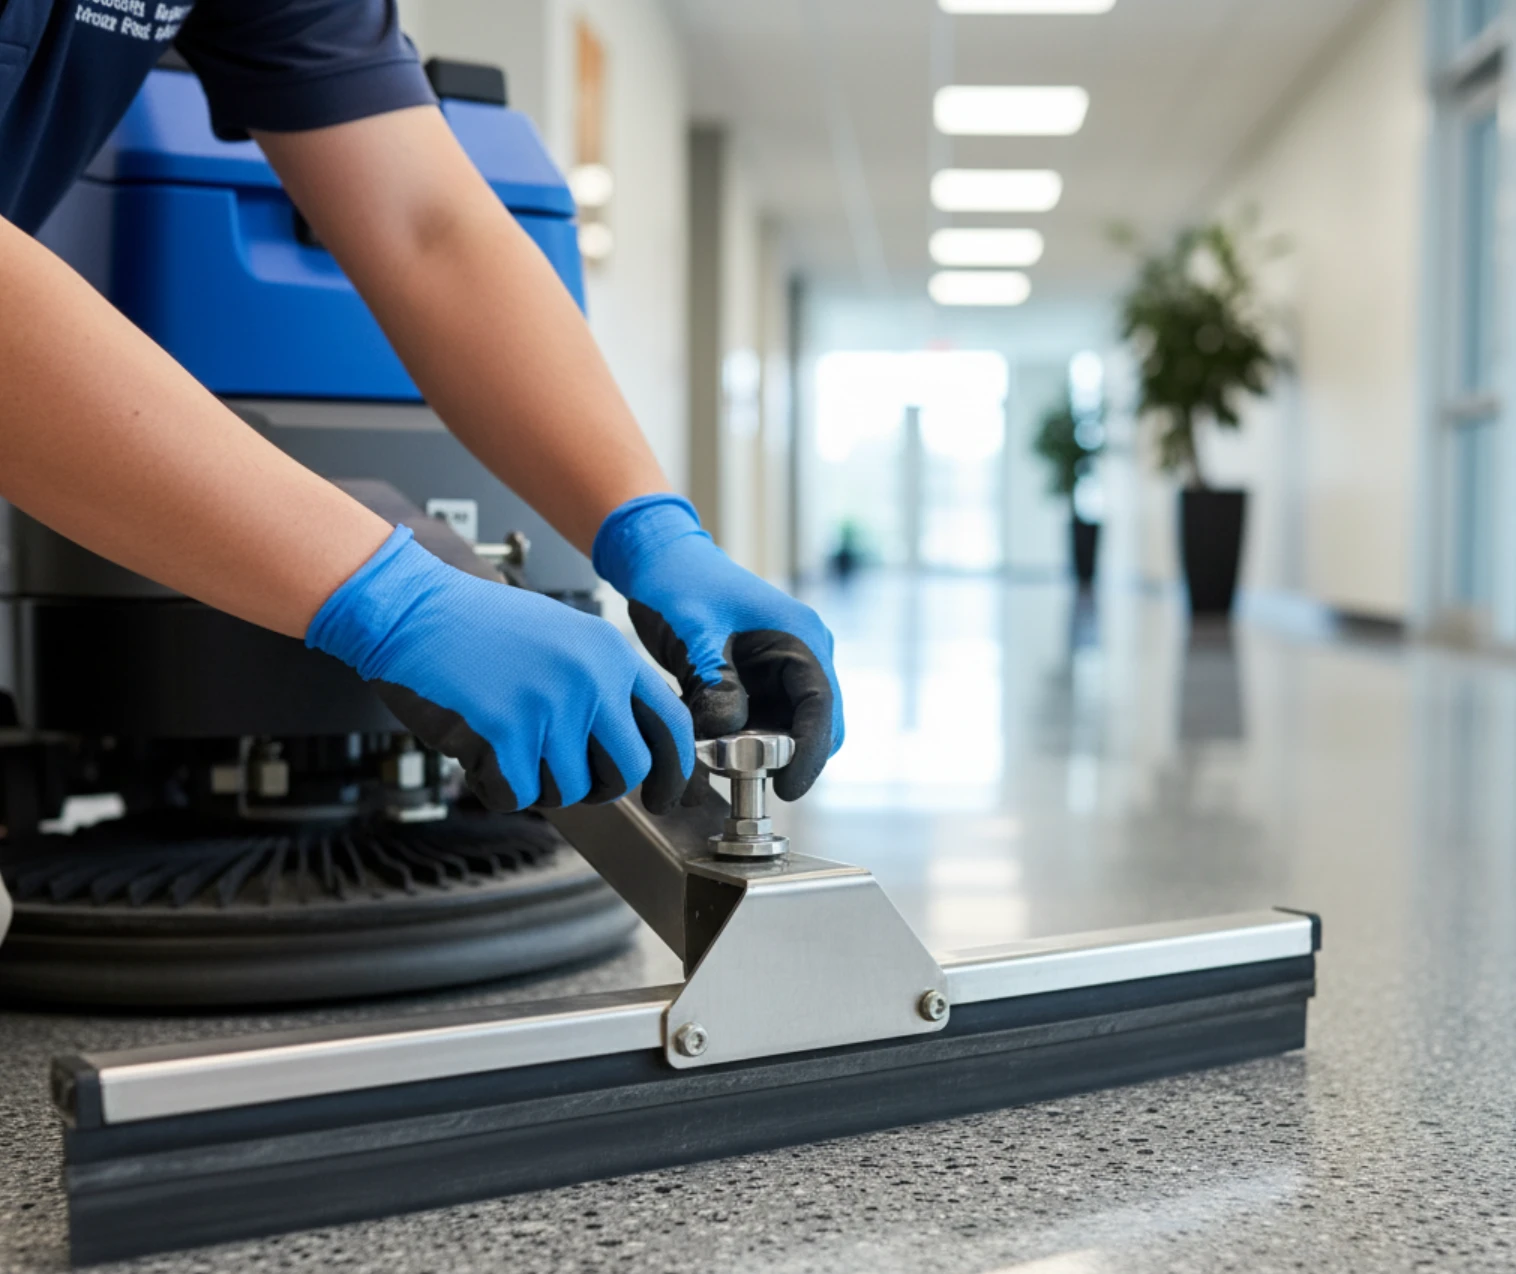
Let’s face it: in our line of work—or if you’re just trying to keep your floors looking sharp—a floor scrubber squeegee that’s off its game is nothing short of a headache. You might think it’s a tiny part, but trust me, if the squeegee system isn’t set right, those streaks and water trails aren’t going anywhere. Worse yet, you could be inviting uneven wear—and in some cases, actual damage to your floors. We’ve helped plenty of clients get their scrubbers back on track, so here’s the lowdown on how to properly adjust that squeegee, troubleshoot the usual suspects, and keep those blades performing like champs.
What Does a Floor Scrubber Squeegee Do?
You might glance at your floor scrubber and think the brushes are the stars of the show, but don’t underestimate the squeegee assembly—it’s the unsung hero. Its job? To scoop up the dirty water and cleaning solution after your scrubber’s brushes have done their dirt-busting routine. Think of the squeegee blade and the vacuum as a tag team that leaves your floor not just clean, but dry and safe. That means the blade has got to make steady, even contact with the floor, all along its length. If that balance is off, you’re wasting time and quality.
Signs Your Squeegee Needs Adjustment
- Streaks or leftover water that just won’t quit
- One or both edges of the blade showing uneven or excessive wear
- An odd “trumpeting” sound giving away reduced suction
- Water pickup that’s mysteriously missing either center stage or along the sides
- Vacuum performance that’s as irregular as a bad dance partner, possibly due to clogging
Safety First: Prepare Your Floor Scrubber
Before you dive in, here’s a bit of friendly advice: don’t rush in like it’s a race. Park that scrubber on a level, stable spot and shut it down completely. Yes, pull the plug or disconnect the battery—better safe than sorry. Make sure the squeegee assembly is within easy reach and your working space is dry, so you’re not doing a slip-and-slide dance trying to get your adjustments done.
Step-by-Step: How to Adjust a Floor Scrubber Squeegee
1. Inspect the Squeegee Assembly
First things first, give your squeegee blades a thorough once-over. If you spot cracks, tears, or that annoying uneven wear, it’s a red flag. Don’t forget to check that the whole assembly is snug as a bug—no loose parts or wobbly mounting arms that could throw you off. Take a moment to clear away any dirt or debris clogging up the works—it’s worth it.
2. Adjust the Squeegee Height
Every reliable floor scrubber comes with adjustment knobs or screws near the squeegee assembly. Turn these evenly on both sides until the blade just kisses the floor across its entire length. If your scrubber has caster wheels, adjust those too—because the last thing you want is the squeegee dragging or losing contact in spots. Even pressure is king here.
3. Adjust the Squeegee Angle (Pitch)
You’ll find angle adjustment bolts or thumb-wheels—loosen them up a bit. Ready for some fine-tuning? Tilt the squeegee forward to dial down suction if your floor is on the smooth side. If the floor’s rough or uneven, adjust it backward to crank up suction. Pro tip: tighten those bolts back good and tight after each tweak, and always test in small increments.
4. Check the Blade Tension
Look around the assembly for a tension knob or bolt—this lets you balance how the blade presses against the floor. The blade should glide evenly without dragging hard, or else you risk curling that rubber and shortening the blade’s life. Getting this tension right? It definitely protects your investment and keeps dirt at bay.
5. Test and Fine-Tune the Adjustment
Here’s where the rubber meets the road—literally. Run your scrubber over a small patch and really watch how it handles the water pickup. If you see streaks or spots still wet, go back to fine-tune height or angle. Sometimes it takes a couple of rounds, but getting it just right makes all the difference.
Troubleshooting Common Issues
Not Picking Up in the Center
If that middle section’s looking more like a puddle than a clean floor, try lowering the squeegee slightly or push the angle forward. Don’t forget to clear the vacuum hose from any debris—it’s surprising how often a clogged hose trips people up.
Not Picking Up on the Edges
Dry edges are a pain. When this happens, tilt the squeegee assembly backward to get better edge contact. A quick check to ensure both blade edges touch down evenly when lowered can save lots of trouble.
Squeegee Leaving Streaks
Streaks happen when the blades are dirty or damaged—pinpoint the guilty party by cleaning those blades with a towel and inspecting for wear. If one side looks battered, try rotating or flipping the blades; many blades reward you by doubling their lifespan that way.
Maintenance Tips to Extend Squeegee Life
Clean After Every Use
This might sound obvious, but one of the smartest things you can do is clean the squeegee blades after every job. Give them a good rinse to wash away dirt and chemical residue. Then, let them air dry—no shortcuts here, because moisture hanging around is a recipe for bacterial buildup and gunk.
Rotate or Flip Blades Regularly
Most blades are like transformers—you can rotate or flip them to use all four edges. Commit to a weekly check, keep an eye on wear levels, and you’ll squeeze the maximum mileage from your blades. We’ve seen clients save a surprising amount just by rotating blades on time.
Store the Scrubber Properly
Here’s a nugget of wisdom: whenever your floor scrubber isn’t in action, raise the squeegee. This simple habit prevents those blades from warping like a bad suntan. Also, keep your scrubber parked in a dry, cool spot away from harsh chemicals or excessive moisture to protect all those quality parts.
Use Compatible Cleaning Solutions
Not all cleaning solutions are created equal. Steer clear of bleach or highly acidic cleaners—they are the sworn enemies of rubber and can quickly degrade your squeegee blades. Instead, opt for pH-neutral cleaners that are gentle on both your squeegee system and those gorgeous floors you’re protecting.
When to Replace Your Squeegee Blades
Even if you baby your squeegee blades, there comes a time when replacement is inevitable. If you see cracks, splits, curling, or the dreaded persistent streaks that no amount of fiddling fixes, it’s time to swap ‘em out. Fresh blades not only boost your scrubber’s performance but also keep slip hazards off your watch.
Final Thoughts
Here’s the bottom line: keeping your floor scrubber squeegee finely tuned isn’t just about looking good—it’s about efficiency, safety, and extending the life of your equipment. We get it; time and resources can be tight, but a little regular attention goes a long way. Inspect, clean, tweak, and protect your squeegee blades, and your scrubber will reward you with spotless, safe floors every time. Need more tips? Dive into our other guides over at the PS Janitorial Blog—we’ve got your back when it comes to keeping your janitorial equipment in top shape.