
How to Control Foam in Floor Scrubbers
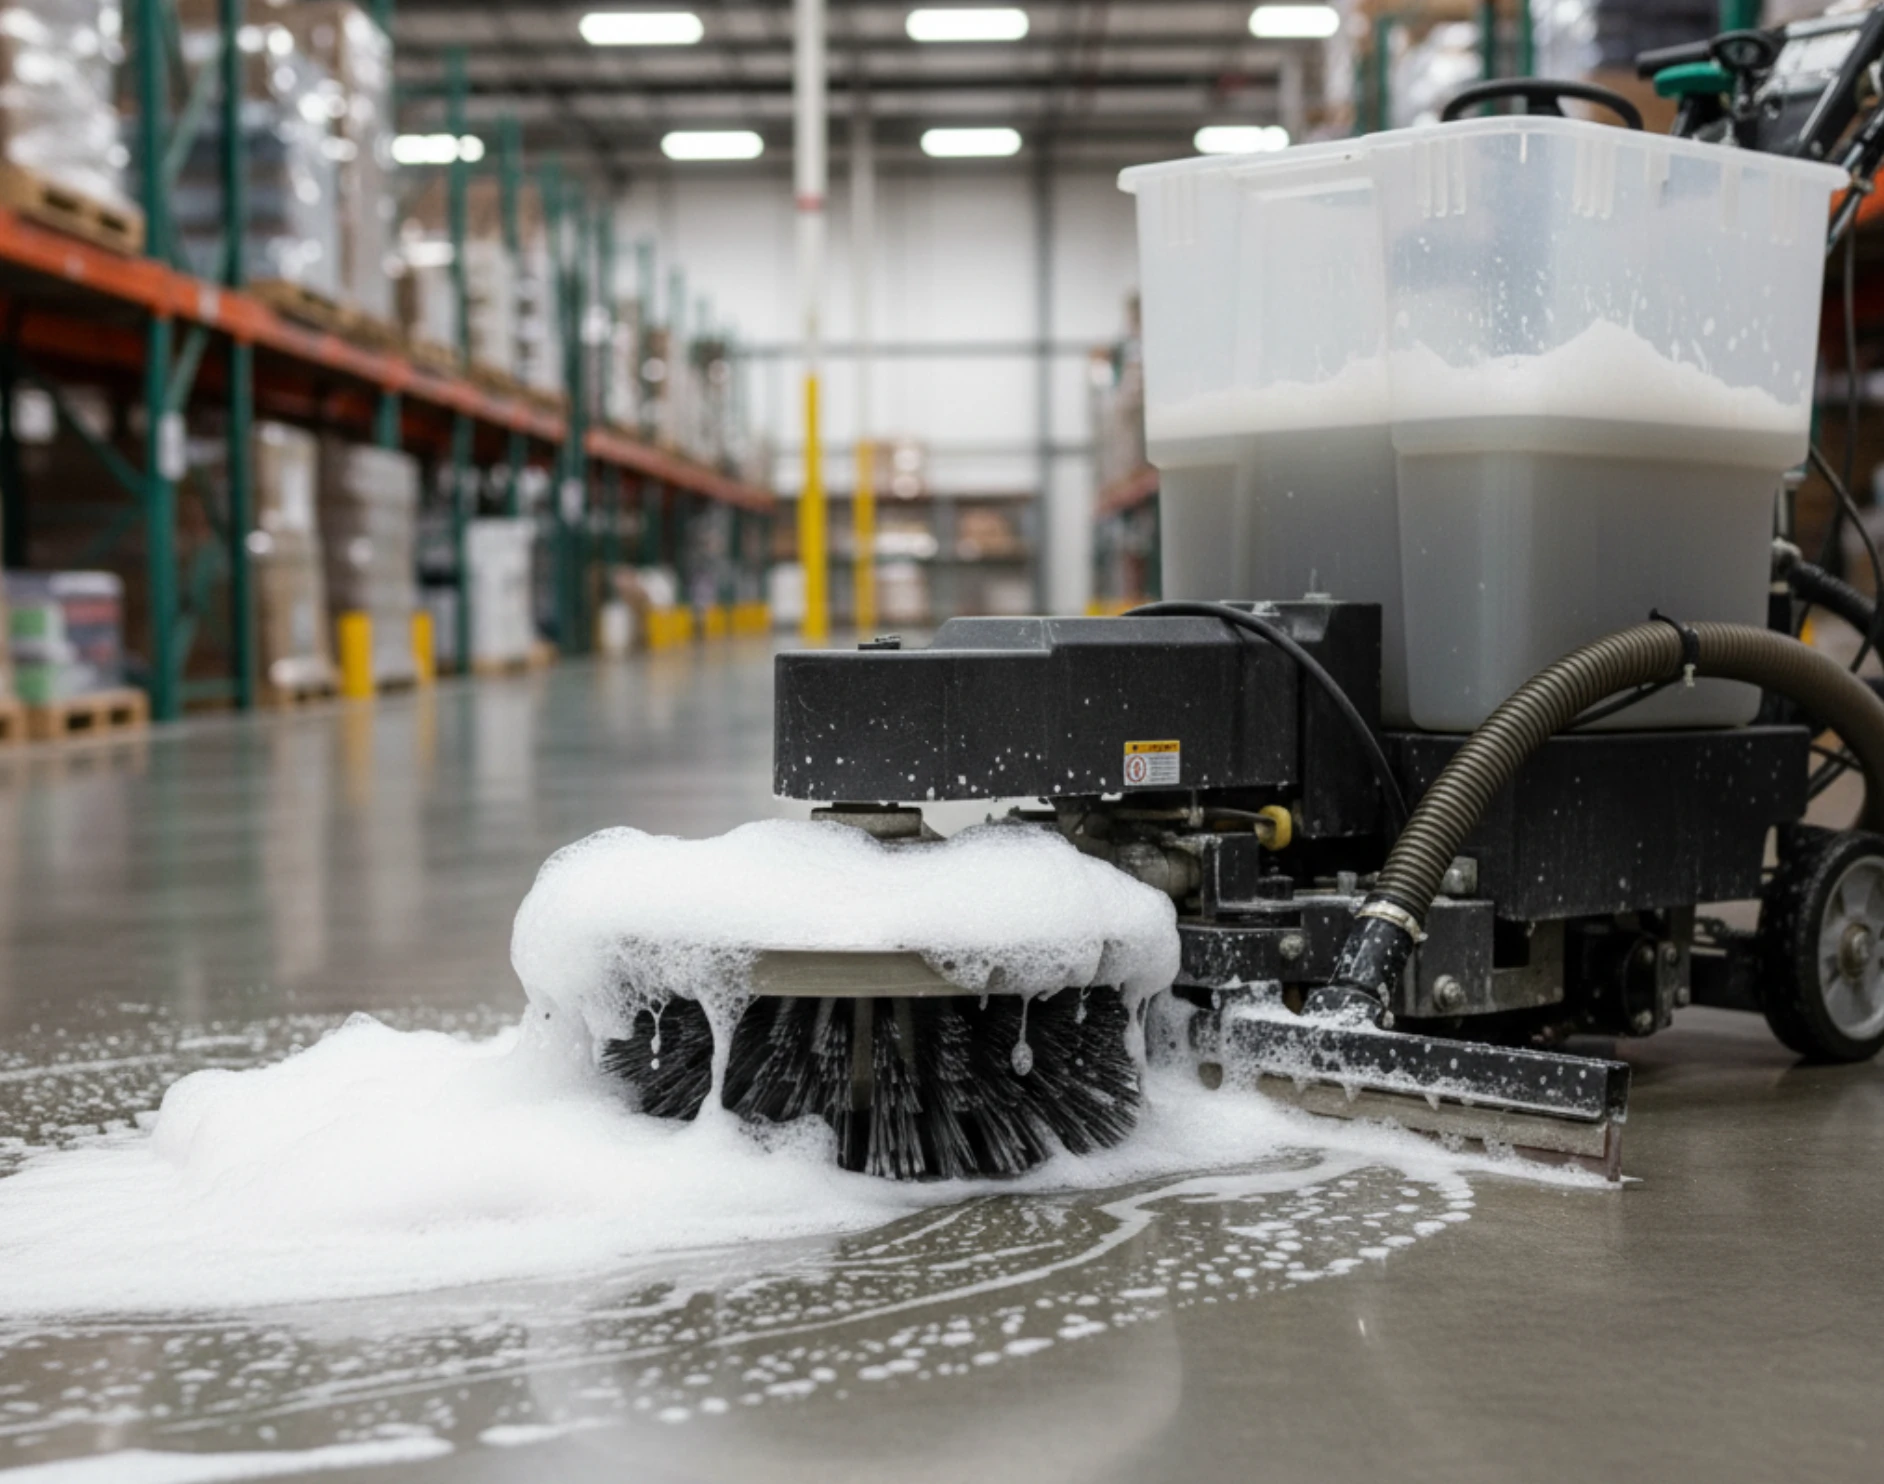
Dealing with foam buildup in your floor scrubber is a bit like trying to keep a windy day from messing up your perfectly pressed shirt—annoying, persistent, and somewhat inevitable if you’re not prepared. Excessive foam can seriously cramp the style of your cleaning game, reducing efficiency and even wreaking havoc on the vacuum motor. But don’t worry; we’ve got your back. Together, we'll unravel why foam appears, how to keep it in check, and the best ways to maintain your machine for smooth operation—so your industrial floor scrubber stays a trusted sidekick, not a headache.
What Causes Foam in Floor Scrubbers?
1. Detergent Formulation and Dilution
Here’s a classic hiccup: using the wrong detergent or mixing it the wrong way. It’s tempting to reach for that multi-purpose cleaning agent sitting on the shelf, but trust me, not all detergents are created equal—especially when it comes to floor scrubbers. Some soaps love to make bubbles—lots of them. And unless they’re formulated specifically for your floor scrubber machine, you might find yourself battling excessive foam. On top of that, a sloppy mix—too much detergent or the wrong water ratio—makes the problem snowball. We've seen it often: a client cuts corners on cleaning solutions, and suddenly their machine looks like it’s throwing a foam party it didn’t sign up for. Spoiler alert—it never ends well.
2. Detergent Residue in Tanks
Ever leave a little coffee in the bottom of your mug overnight? It’s the same deal with your recovery tanks. Leftover detergent lurking in the nooks of your cleaning equipment can start fizzing and foaming before you even hit the floor. And if you don’t clean those tanks regularly, you’re stacking the deck against yourself, inviting foam to form out of thin air—or rather, out of stubborn residue. This buildup amps up foam generation and, honestly, can be a hassle to fix if ignored too long.
3. Agitation and Air Flow
Now, this one’s a bit trickier. The very motion that gets your floors gleaming—the scrubbing brushes and vacuum suction—can also work against you by whipping air into the mix, turning your cleaning solution into a foam factory. It’s like shaking up a soda can and waiting for that fizzy mess to explode. No one wants their floor scrubber machine to blow its top. Managing this agitation is crucial; otherwise, foam buildup can slow down cleaning and cause other issues.
Why Controlling Foam Matters
1. Preventing Motor Damage
Let me be straight with you: foam entering the vacuum motor is a recipe for disaster. This isn’t just about a drop in performance; we’re talking about real damage—short circuits, corrosion, even total motor failure. It's like letting water into your car engine; your floor scrubber won’t take that lightly. And the cost of fixing or replacing a vacuum motor? Not fun. Keeping foam at bay is a small price to pay compared to that hefty repair bill.
2. Maintaining Cleaning Efficiency
Think about it: when foam steals the suction power, your machine leaves behind streaks and dirty water on hard floors. That’s not just inconvenient—it poses a safety hazard due to slippery residues and ruins the professional look you’re striving to maintain. If you want your cleaning jobs to look sharp and your machine to work like a charm, foam control isn’t optional—it’s essential.
3. Avoiding Costly Repairs
You don’t have time for downtime, and neither do we. Routine foam control is hands down one of the most cost effective ways to keep your floor scrubbers running in top shape. Neglect it, and you risk premature wear on components—and those expensive service calls will be your new, unwanted best friends.
Best Practices to Control Foam in Floor Scrubbers
1. Use Low-Foaming Detergents
Playing it smart means using detergents engineered for floor scrubbers—these cleaning solutions don’t just talk the talk; they walk the walk in minimizing foam, yet still pack a punch when it comes to dirt removal. We’ve seen clients in healthcare, hospitality, and warehousing all benefit from sticking to these specialized detergents—every industry, a little tweak in approach.
2. Add Water Before Detergent
Here’s a neat trick: always fill the solution tank with water first. Yes, first. Adding detergent to an empty tank is like tossing sugar in dry punch mix—messy and foamy. When detergent meets water head-on, foam forms right away. Fill water first, add detergent slowly, and watch your foam troubles dwindle.
3. Use a Defoaming Agent
Think of defoamers as the secret weapon in your foam-fighting arsenal. Adding a little industrial defoamer to the recovery tank before you start cleaning gives you a head start against foam. It keeps the bubbly stuff away from your fragile vacuum motor—sort of like a shield. But remember, defoamers are more like a tactical assist than a full fix.
4. Empty and Rinse Tanks Regularly
After your machine’s worked hard, treat those solution and recovery tanks with some TLC. Empty them completely, then rinse thoroughly. This isn’t just housekeeping—it’s your frontline defense against detergent residue that can stir up foam the next time you clean.
5. Inspect and Clean Key Components
Here’s where the rubber meets the road. Float assembly, vacuum filters, squeegee blades, and solution hoses might not seem glamorous, but keeping them clean stops them from turning into foam factories. Check these parts on the regular, and you’ll save yourself headaches down the line.
Additional Tips for Moisture and Foam Management
1. Avoid Overfilling Tanks
Ever tried carrying an overfull cup of coffee? The mess isn’t fun. Same goes for overfilled tanks on your floor scrubber machine. When tanks are too full, liquid and foam sneak past filters, putting your vacuum motor at risk. Tip: keep an eye on those fill lines, especially during busy shifts.
2. Monitor Liquid and Foam Levels
It’s easy to get caught up when you’re juggling cleaning tasks, but make it a habit to check tank levels often. Stop and empty the recovery tank before it’s too late—foam loves to build up fast when you least expect it.
3. Store the Machine Properly
We’ve all had that moment where we hurriedly stash equipment away—don’t let your floor scrubber be victim to bad habits. Leaving tanks open to dry after use prevents nasty odors, mold, and chemical reactions that only make foam issues worse next time around.
Routine Maintenance to Prevent Foaming
Consistency is key—don’t roll your eyes just yet. A regular maintenance schedule might sound like a chore, but it’s actually your best friend. Here’s what we recommend:
- Rinse recovery tanks with a mild ammonia-water mix to blast away residual detergents.
- Clean out float assemblies and vacuum filters after every session—no excuses.
- Keep an eye on squeegee blades; replacing worn ones as needed keeps floors dry and foam-free.
When to Use a Defoamer (and When Not To)
Defoamers? Love ‘em, but let’s put them in their place. They’re fantastic for giving you immediate relief during those unexpected foam outbreaks, but they’re no substitute for choosing the right detergents or practicing good cleaning habits. Think of defoamers like a painkiller—not a cure. Address the root causes first, and use defoamers as your trusty backup plan.
Keep Your Floor Scrubber in Peak Condition
You want your floor scrubber to be more than just a tool—it should be an ally that keeps your hard floors spotless with minimal fuss. Using the right cleaning solutions, staying on top of maintenance, and vigilantly monitoring foam levels might sound like extra work, but trust us, it pays dividends.