
How to Fix a Leaking Floor Scrubber Recovery Tank
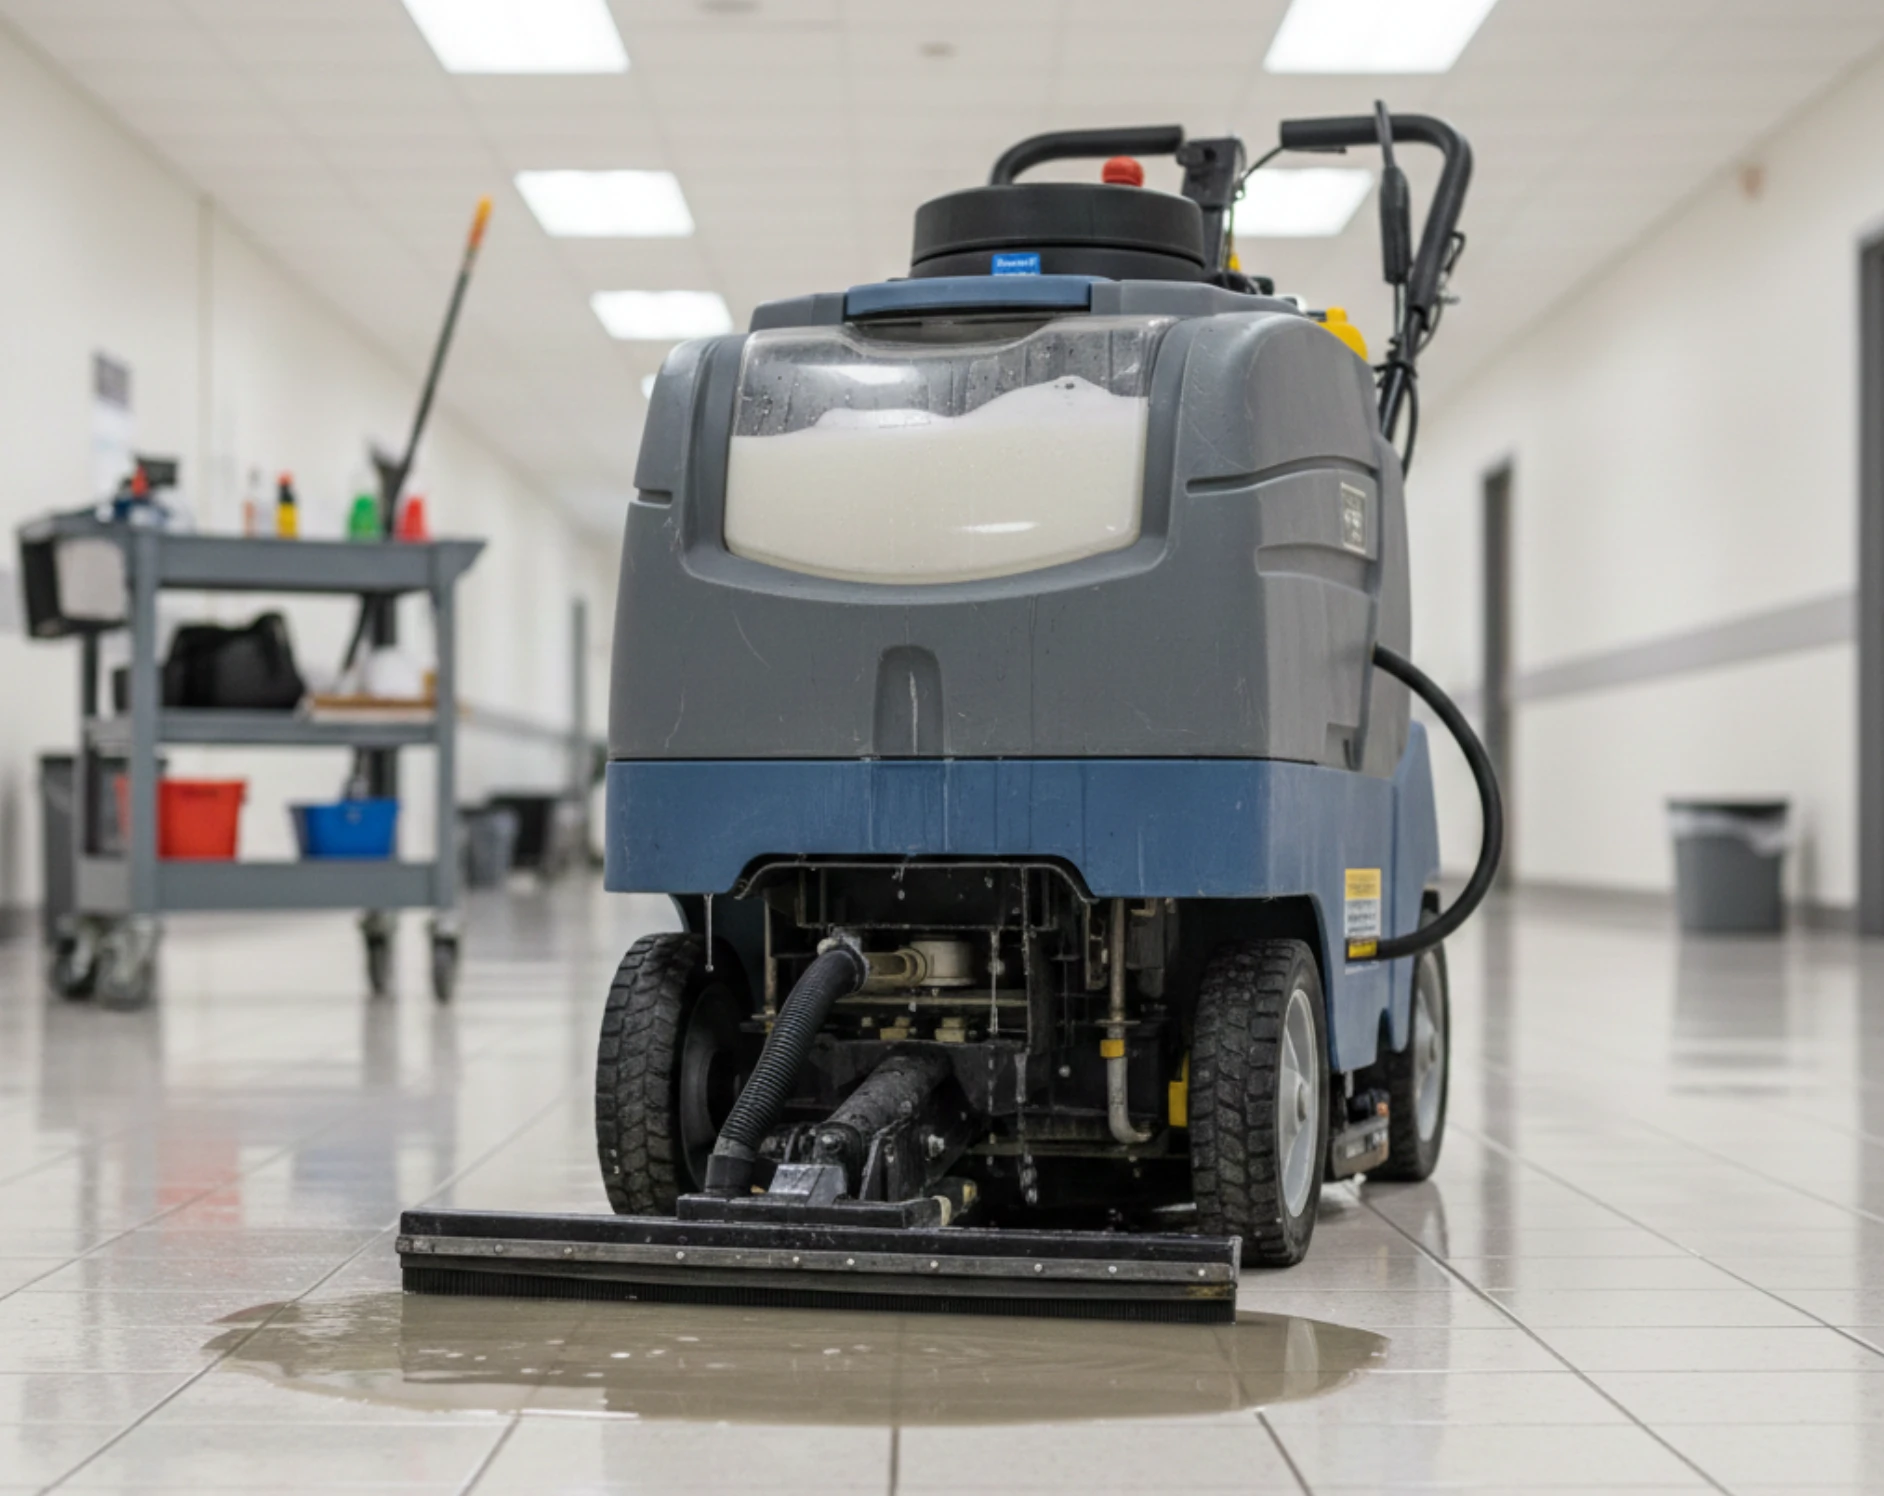
If you’ve started noticing puddles, dampness, or musty odors near your floor scrubber, the culprit may be a leaking recovery tank. Beyond the annoyance, a leaky tank undermines your machine’s cleaning performance, creates slip hazards, and can damage sensitive components. In this guide, you’ll discover how to spot, diagnose, and fix leaks in the recovery tank step by step, restoring optimal cleaning and helping you avoid one of the most common floor scrubber problems.
Understanding the Floor Scrubber Recovery Tank
The recovery tank is an integral component of every floor scrubber machine, including auto floor scrubbers and scrubber dryers. As your device sweeps across the floor, it deposits water and cleaning solution from the solution tank, agitates the grime with the brush deck, and then collects the soiled liquid. This dirty water is sucked up by the vacuum system via the squeegee blades and vacuum hose, depositing it into the recovery tank. Without a properly functioning recovery tank, your floor scrubber can’t pick up dirty water, leading to poor water pickup, streaks, and slippery surfaces.
Common Signs of a Leaking Recovery Tank
- Visible water pooling around the machine after use
- Musty odors or persistent dampness near where you park your equipment
- Reduced suction, resulting in less effective recovery of the cleaning solution and water
- Drips or leaks at seams, hose connections, or fittings underneath or beside the recovery tank
Primary Causes of Recovery Tank Leaks
1. Cracked or Damaged Tank Body
Over time, rough handling, accidental bumps against uneven floors, or exposure to harsh cleaning chemicals can stress and crack your tank. Cracks can form along seams, corners, or stress points and may begin as hairline fractures before becoming leaks. Regularly inspect the body for even small fissures, especially if your cleaning process involves aggressive movement or the use of hot or highly concentrated solutions.
2. Loose or Worn Seals and Gaskets
Every entry and exit point in your recovery tank—including the tank lid, drain outlet, and vacuum hose connections—relies on robust seals and gaskets. These rubber or silicone components create watertight closures. Over time, exposure to cleaning chemicals, mineral buildup, or frequent use can cause seals to dry out, crack, or lose elasticity, resulting in loose fittings and leaks.
3. Faulty Hose Connections or Split Hoses
Aging or worn suction and vacuum hoses are recurring sources of leakage. Kinks, splits, or perforations in the hose itself—often due to repeated bending around the squeegee system or strain from an overfilled tank—lead to water escaping. Additionally, loose connections at the hose ends or poorly tightened hose clamps may allow dirty water to escape during normal operation.
4. Overflow Issues (Tank Full or Improper Drain)
Sometimes, user error is at the heart of floor scrubber problems. If you fail to regularly empty the recovery tank—or drain it improperly—water can overflow through the vacuum hose or drain outlet. Overflowing may seem minor, but even a single event can saturate electrical systems, degrade pad pressure, or lead to hard-to-remove mineral deposits.
5. Blocked Filters or Debris Buildup
Blocked solution filters or debris traps in the vacuum system can cause back pressure inside the tank. When water can’t pass freely, pressure forces it out through gaskets, seams, or weak points in the tank body. Debris can also wedge into hose connections, prompting leaks and reducing overall cleaning performance.
Step-By-Step: How to Fix a Leaking Recovery Tank
1. Safety First: Power Off & Drain Tanks
Always begin by shutting down your floor scrubber machine. Unplug the power cord, shut off battery systems, and make sure all moving parts are stopped. Drain the solution tank and recovery tank completely following the cleaning procedure recommended in your user manual. This helps you see leaks clearly and prevents spills.
2. Inspect the Recovery Tank for Cracks
- Visual Inspection Tips:
Use a clean, damp cloth to wipe the tank so you can spot hairline cracks or damaged areas. Pay particular attention to seams, bends, and the underside—places most prone to hits and stress. If access is limited, use a flashlight to illuminate hard-to-see areas. - Water Leak Test:
Add a small amount of clean water to the drained recovery tank. Watch for any water escaping from cracks or seams. Mark any suspect spots, and dry the tank once finished.
3. Examine and Replace Seals/Gaskets
- Locating Seals and Gaskets:
Consult your user manual to identify seal and gasket locations—these are typically found around the recovery tank lid, access covers, drain plugs, and the vacuum hose or suction hose entry points. - How to Replace:
Carefully remove worn gaskets or seals using a non-abrasive tool. Clean the area thoroughly to remove old residue and mineral buildup. Fit new, compatible gaskets as per the manufacturer’s instructions. Re-tension any fasteners or clamps for a secure, watertight fit.
4. Check Hoses and Connections
- Inspection Steps:
Examine each vacuum hose, suction hose, and their connectors for splits, kinks, uneven wear, or loose connections. Don’t forget to check where hoses join the squeegee system or attach to the tank. - Repair & Replacement:
Tighten any loose hose clamps—this is a common source of leaks. Replace hoses that are brittle, split, or too stretched. Secure all fittings so connections are snug but not overtightened, which may damage seals or crush hoses.
5. Clean Filters and Debris Traps
- Debris Removal:
Locate and remove the solution filter and any debris traps associated with your recovery and vacuum systems. Clear accumulated dirt, hair, and cleaning residue that could block flow or cause back pressure. - Proper Technique:
Rinse filters with clean water. If your filter is heavily clogged or damaged, replace filters promptly to enhance vacuum motor efficiency and reduce future leak risks.
6. Test After Repair
Once all components are secure, add a small amount of water back to the recovery tank. Run your floor scrubber briefly—watch for leaks as the machine operates and inspect under and around the tank. If needed, repeat the inspection and tighten fittings to ensure everything is functioning properly.
Preventative Maintenance to Avoid Future Leaks
- Always empty and rinse both the solution tank and recovery tank after every use, especially when using heavy-duty cleaning chemicals.
- Make routine inspections of hoses, seals, gaskets, and vacuum hose for early signs of wear, mineral buildup, or loose connections.
- Regularly clean squeegee blades, solution filters, and debris traps to ensure water and cleaning solution flow freely and prevent redepositing dirt on the floor.
- Before and after especially demanding cleans or when tackling irregular floor types and uneven floors, check for cracks or gaps that could worsen existing issues.
When to Call a Professional
If you detect major cracks in the recovery tank, spot internal structural damage, or experience leaks associated with electrical systems or the vacuum motor, it’s best to stop work and call a floor scrubber repair professional. DIY fixes are unsuitable for severe problems or when leaks threaten safe operation. A technician can also address persistent leaks, worn brush decks, or issues not resolved with the above steps.
Maximize the Life and Performance of Your Floor Scrubber Machine
Fixing a leaking recovery tank is often straightforward if you follow a systematic cleaning procedure: assess, diagnose, repair, and verify. By performing proper maintenance and regular inspections—and by catching small leaks before they become major floor scrubber problems—you can prolong your equipment’s lifespan, guarantee top-notch cleaning performance, and ensure every cleaning session runs safely and smoothly. With the right attention, your floor scrubber machine will keep functioning properly, no matter the mess or floor type you face.