How To Use A Carpet Extractor: A Complete Guide
So, why should you even bother with carpet extractors? Well, if you’re like many of our clients managing busy commercial spaces, you already know that regular vacuuming just doesn’t cut it. We’re talking about deep cleaning carpets here—getting rid of the embedded dirt and grime that’s quietly wearing down your carpet fibers day after day. Carpet extractors aren’t just handy; they’re essential tools for maintaining that professional look and feel, while also extending the life of your carpets. Stick with me, and you’ll learn how to use a carpet extractor effectively—with a few pro tips along the way to help you avoid common pitfalls.
What Is a Carpet Extractor?
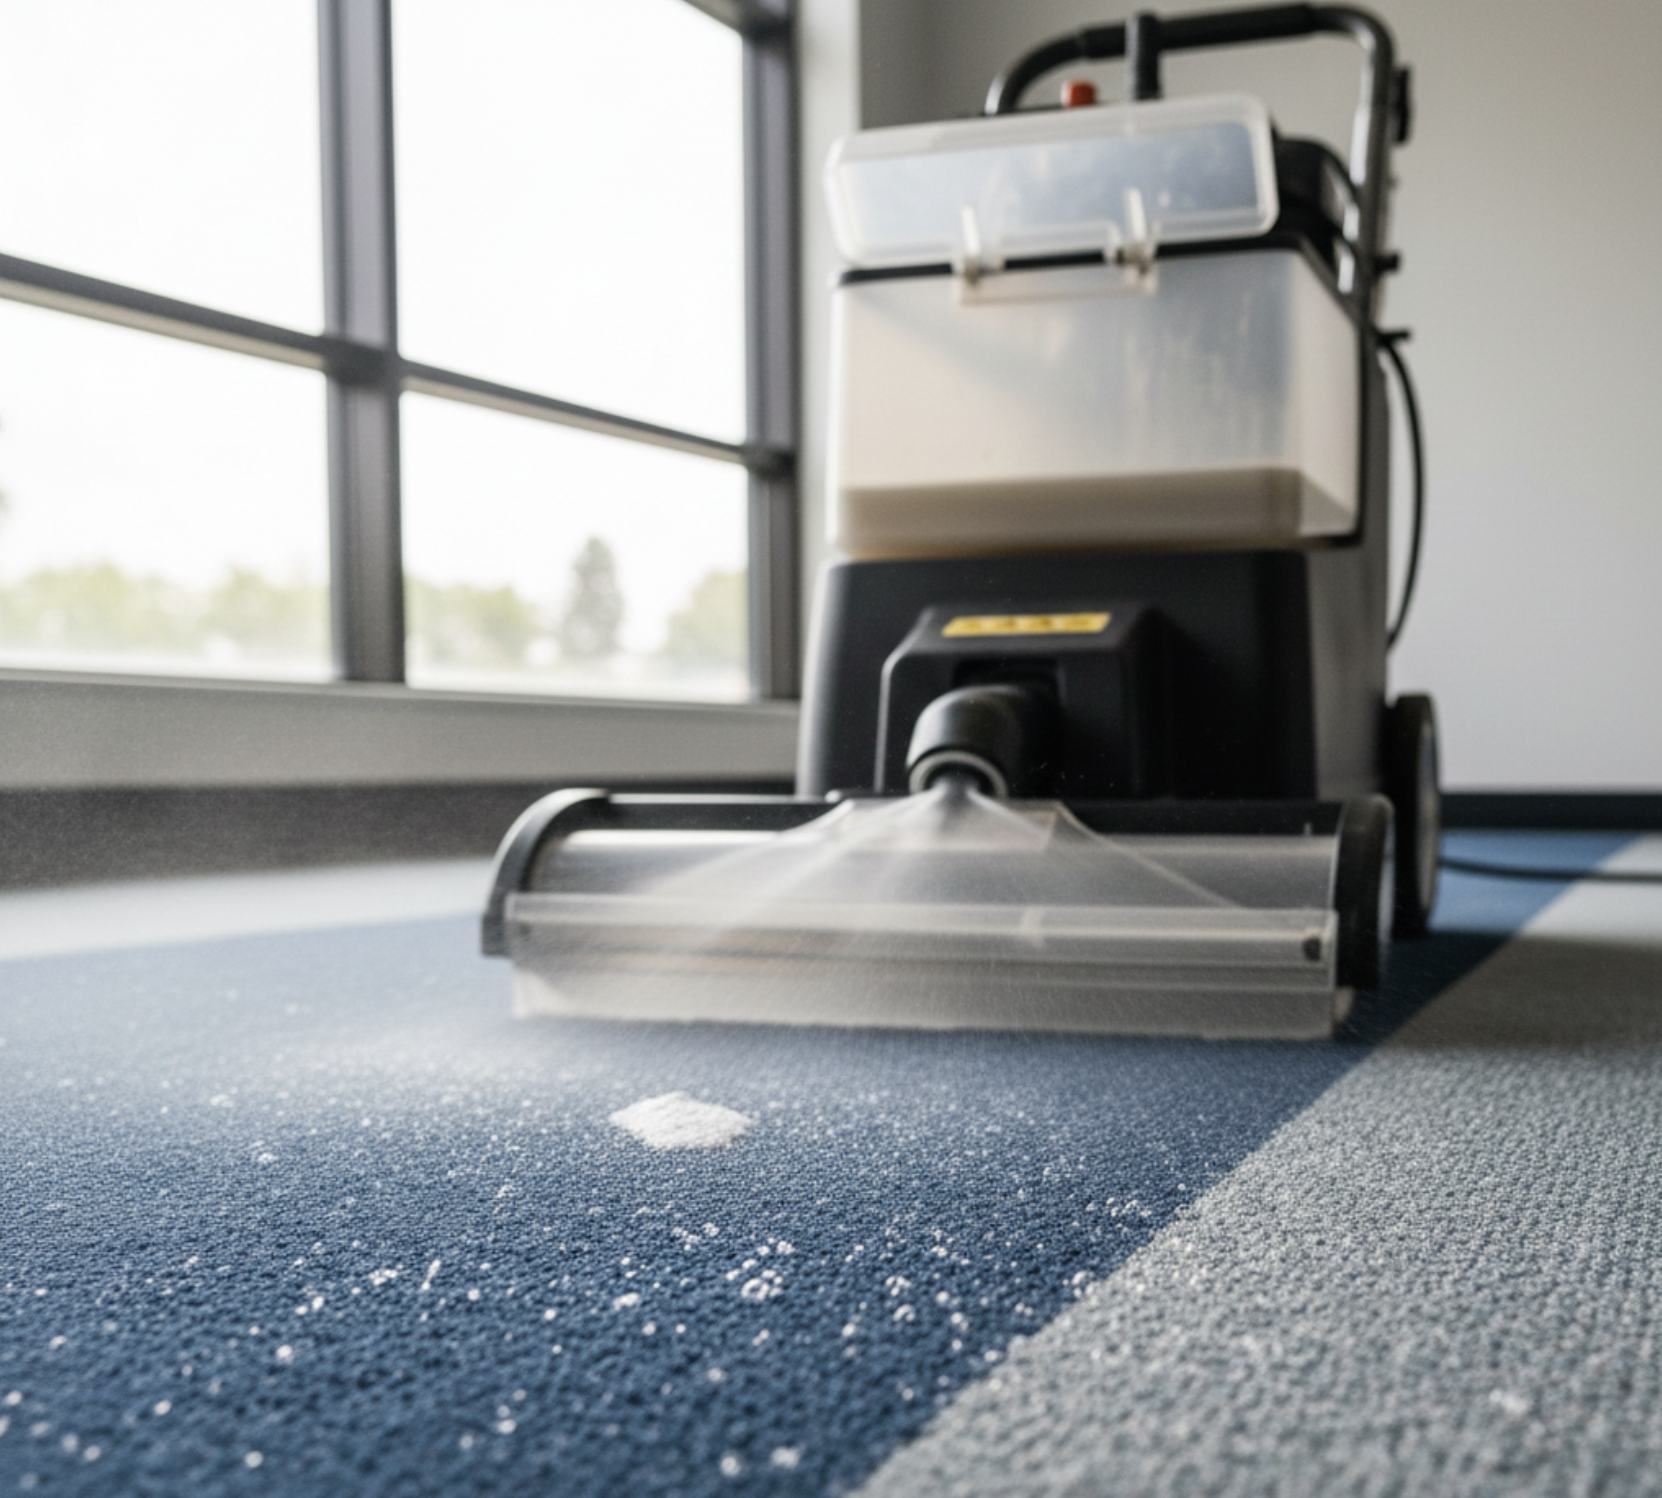
Let’s clarify what a carpet extractor really is, because it’s not just another fancy carpet cleaner. At its core, a carpet extractor is a machine that injects a cleaning solution—often mixed with hot water—deep down into the carpet fibers, then immediately sucks up the dirty water into the recovery tank, leaving your carpet almost dry. This is a far cry from surface cleaning or just steaming. Unlike steam cleaners that might sanitize but don’t necessarily get rid of the grime, carpet extractors actually pull out the embedded dirt and stains you can’t see but can definitely feel. If you’re serious about carpet extraction, this distinction is vital.
The Differences Between Commercial and Residential Carpet Extractors
- Power and Performance: Commercial carpet extractors pack way more punch—stronger motors, better suction—because they’re built to tackle large areas with heavy dirt buildup.
- Tank Size and Coverage: Larger solution tanks and hulking recovery tanks mean fewer interruptions during cleaning. A boon if you’ve got an entire carpet that needs attention.
- Durability and Design: These machines are made to survive daily wear and tear. They’re not delicate, and frankly, that’s what you want when you’re in the janitorial business.
- Ideal Use Cases for Each: Residential models are fine if your cleaning needs are light or infrequent, but if you’re running a commercial facility, a commercial carpet extractor is the only way to go—no contest.
When Should You Use a Carpet Extractor?
- Signs Your Carpet Needs Deep Cleaning: Dull colors, musty odors that sneak up on you, persistent stains that don’t respond to quick fixes—these are screaming for a proper carpet extraction.
- Recommended Cleaning Frequency: For bustling areas, like office lobbies or retail stores, We say aim for regular deep cleaning every three to six months. Less trafficked spaces? Maybe twice a year does the trick.
- Situations Calling for Heavy-Duty Cleaning: Emergencies happen—think spills, construction dust brought in during renovations, or post-event messes. Those moments call for immediate, heavy-duty intervention using a carpet extractor.
Supplies and Equipment Needed
- Carpet Extractor Types: Whether it’s a box extractor, a self-contained unit, or a wand attachment, picking the right type depends on your job size and carpet type.
- Cleaning Solutions and Pre-Spray Chemicals: Using the right cleaning solution tailored to your carpet fibers is crucial—not all products work the same, so choose wisely.
- Additional Tools: Vacuum hose attachments, stain remover sprays, defoamers to keep that recovery tank’s foam in check, and carpet dryers for speeding up drying times.
- Safety Gear and Accessories: Don’t forget gloves and eye protection—better safe than sorry when you’re handling chemicals.
Step-by-Step Guide: How To Use a Carpet Extractor
Step 1: Preparation
Kick things off by clearing the entire carpet space—move the furniture, sweep up the obvious debris. Grab your vacuum hose and give the carpet a thorough vacuum; trust me, you don’t want to try carpet extraction with sand and dust still sitting on top. Check your machine setup; make sure the solution tank is empty before filling it and that you have all parts, like the recovery tank lid, securely in place.
Step 2: Pre-Treatment of Stains
Got stubborn spots? Pre-spray those areas with a good cleaning solution and give it some time to work—about 10 to 15 minutes usually. Agitate the stains gently if you have to. It’s like telling dirt to loosen up before you swoop in with the extractor.
Step 3: Filling the Solution Tank
When it comes to mixing the cleaning solution, follow manufacturer instructions to the letter—no shortcuts. Using hot water in a heated carpet extractor amplifies the stain-fighting power, but remember, too hot can damage delicate fibers. So get that balance right.
Step 4: Using the Extractor
- Handle the extractor by making slow, overlapping passes to ensure you cover the entire carpet evenly.
- Use the switches controlling the pump, vacuum, and brushes appropriately—they’re your best friends here.
- Keep an eye on the recovery tank—once it fills, you’ll need to empty it to maintain suction.
- If foam is acting up, a dash of defoamer will keep things running smoothly.
- For those tricky spots, don’t hesitate to switch to smaller attachments or hand tools. Precision counts.
Step 5: Rinsing and Repeat if Necessary
Don’t skimp on rinsing—you want to flush out any leftover solution so no residues remain that can make your carpet fibers appear dull or sticky. Sometimes, one round isn’t enough for heavily soiled areas, and hey, nobody said cleaning was always a one-and-done deal.
Step 6: Drying the Carpet
Nothing ruins a good cleaning like a damp carpet left to fester. Use air movers or increase airflow in the room to speed drying. If you’ve ever had to deal with mold or mildew, you know why this step matters — drying is not just a finish line, it’s part of the cleaning process itself.
Step 7: Clean Up and Equipment Maintenance
- After you’ve returned the carpet to its rightful glory, don’t forget about your equipment.
- Empty the solution tank and recovery tank thoroughly, flushing them out so no muck builds up for next time.
- Clean the hoses and filters—the small stuff can make or break your machine’s longevity.
- Store your extractor carefully; trust me, it’ll thank you later.
Additional Carpet Extraction Tips
- Choose the right cleaning solution: Look, one size doesn’t fit all. Different carpet fibers require different formulas, so don’t just grab whatever’s on sale.
- Avoid over-saturation: Waterlogged carpets create more problems than they solve. Keep it just enough to clean, not soak.
- Always pre-vacuum: This might sound obvious, but you’d be surprised how many overlook this step. Pre-vacuuming removes loose dirt, letting the extractor focus on the deep clean.
Benefits of Using a Carpet Extractor
- They do a deep clean, reaching what the naked eye and regular cleaners can’t.
- They extend the life of your carpets by removing pesky embedded dirt before it wreaks havoc on fibers.
- They speed up drying times compared to traditional wet cleaning, reducing mold risk.
- Cleaner carpets mean better indoor air quality—goodbye, allergens.
Mastering Carpet Extraction for Lasting Cleanliness
In the grand scheme of preserving your carpets, carpet extractors play a starring role—if you know how to use them right. They aren’t magic wands, but with the right approach, they transform your carpet care from a chore into a skilled practice. So, roll up your sleeves and give those carpets the attention they deserve—you’ll thank yourself later.
Contact PS Janitorial for Carpet Extractor Equipment and Support
Need gear? Advice? Wondering which commercial carpet extractor fits your unique cleaning challenges? Reach out to us at PS Janitorial. We’re here to help you make your carpet extraction as seamless as possible—because clean carpets aren’t just a luxury; they’re a necessity. Let’s get the job done together.