
Ride-On Floor Scrubber Troubleshooting: Common Problems and How to Fix Them
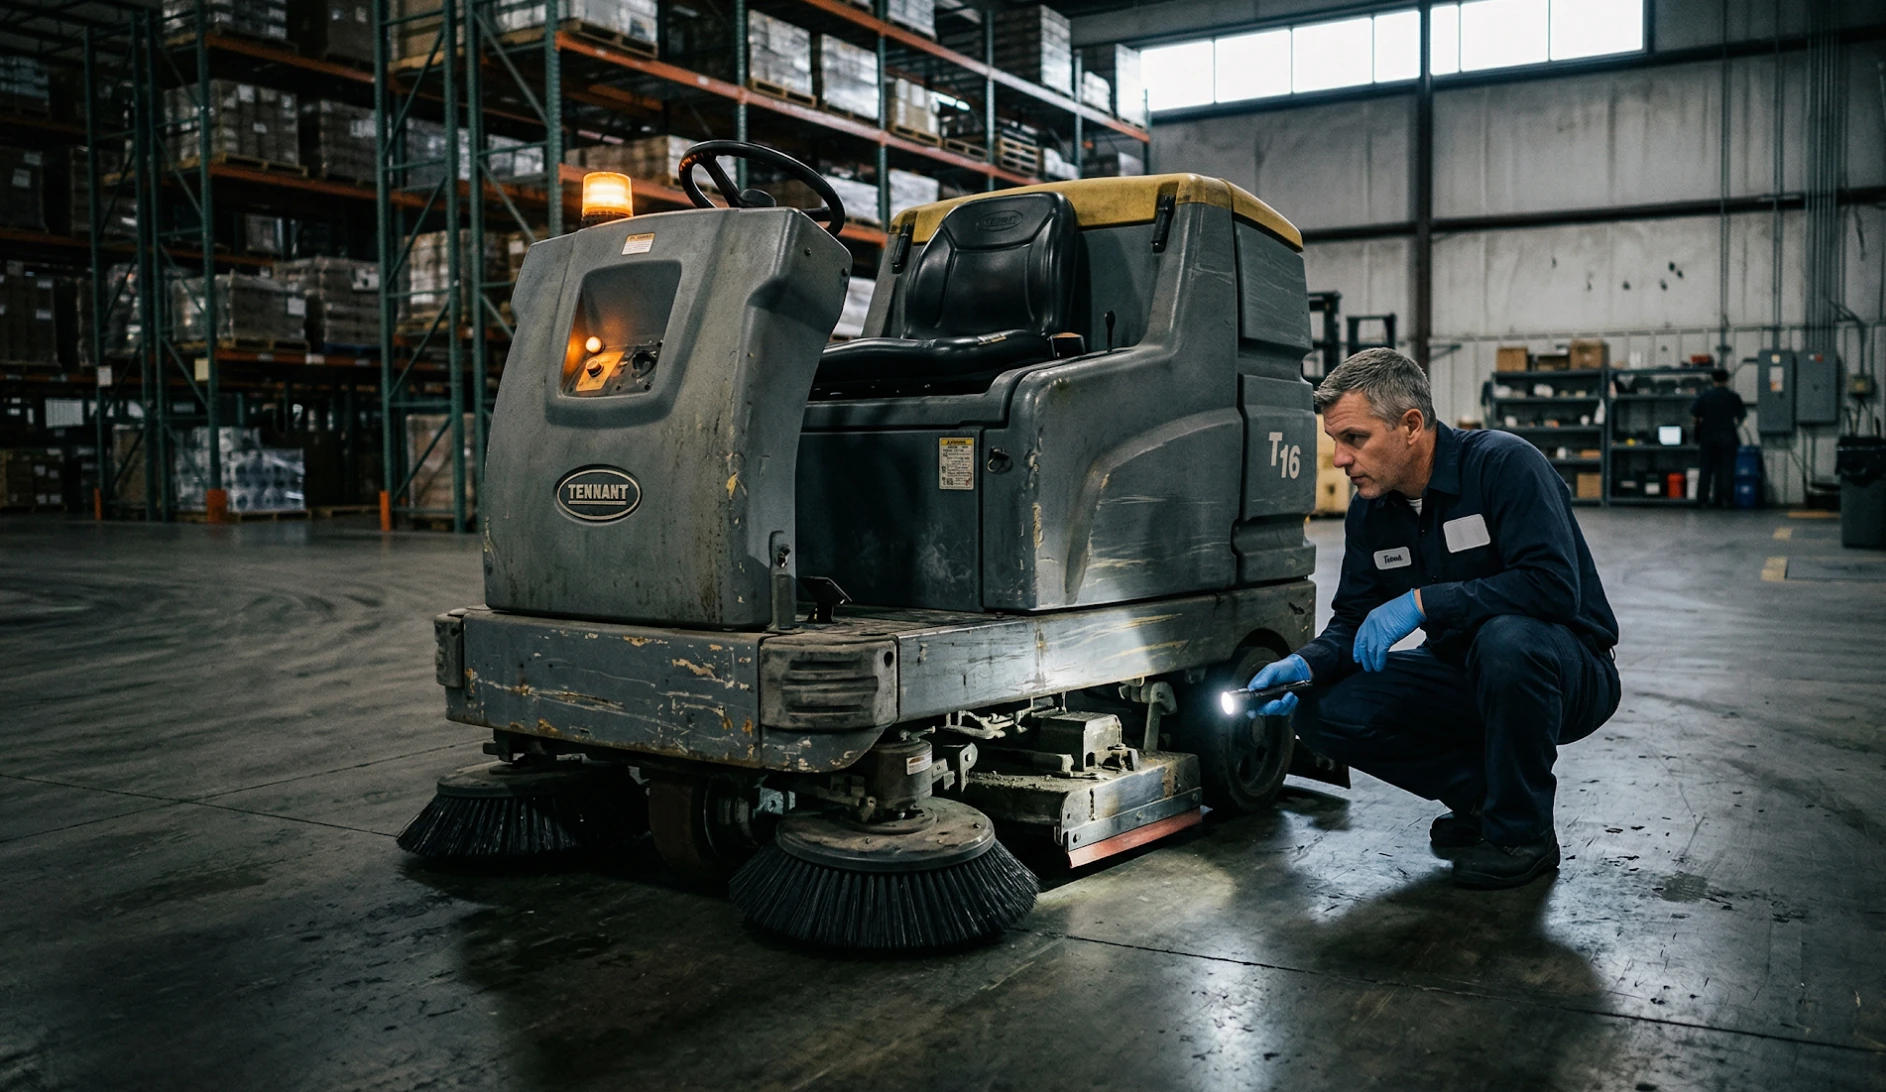
Ride-on floor scrubbers are built for heavy-duty commercial use, but even well-maintained machines develop problems over time. When a ride-on goes down mid-shift, the cost isn't just the repair bill; it's the labor time lost, the floors left uncleaned, and the scramble to find a fix. This guide is written for facility managers, operators, and anyone responsible for keeping ride-on floor scrubbers running. It covers the seven most common floor scrubber problems, how to diagnose them on-site, and when to stop and call a technician.
Why Ride-On Floor Scrubbers Break Down (And What to Do About It)
Most breakdowns trace back to a handful of recurring systems: the battery, the water delivery system, the brush deck, and the squeegee assembly. The good news is that the majority of common floor scrubber problems don't require a service call, they require a methodical check of the most likely causes. Work through each section below before assuming a major mechanical failure.
Machine Won't Turn On
Battery-powered floor scrubbers are especially prone to this issue, since the power system involves more components than a simple corded machine.
Check the Battery First
Start with the obvious: check the charge level on the control panel or battery indicator. If the display shows low or no charge, connect to the charger and wait for a full cycle before retesting. Also confirm the battery is fully seated in its tray, a loose connection after cleaning or transport is a common cause of a dead battery symptom that isn't actually a dead battery. Check battery voltage with a multimeter if you have one; deep cycle batteries (both lead acid batteries and lithium battery types) should read within the manufacturer's specified range at rest.
Inspect the Power Connections and Wiring
With the machine powered off, visually inspect all electrical connections for signs of corrosion, looseness, or damage. Loose connections at the battery terminals are one of the most overlooked causes of startup failure. On corded models, inspect the power cord from end to end for cuts, kinks, or damaged insulation. Damaged wires should be repaired by a technician, don't attempt to tape over frayed wiring on a machine that runs in wet environments.
Look for a Tripped Circuit or Emergency Stop
Ride-on models typically include safety switches, an emergency stop button, a seat sensor, or a key switch, that cut power if triggered. Check your user manual for the location of these switches and confirm none are engaged before diagnosing further. A key that's only halfway seated or an emergency stop that was bumped during storage will prevent startup just as effectively as a wiring fault.
Poor or No Water Dispensing
The water delivery system on a ride-on scrubber moves cleaning solution from the solution tank through a solenoid valve and spray nozzles to the brush deck. If that chain breaks down anywhere, the machine runs dry and scrubbing results suffer immediately.
Solution Tank Is Empty or Incorrectly Filled
The single most common cause of no water flow is an empty tank, specifically, filling the recovery tank by mistake. The two tanks are usually adjacent, and operators new to the machine make this error regularly. Locate the solution tank (marked in the user manual), fill it to the correct fill line with diluted cleaning solution, and confirm the cap is sealed before restarting.
Clogged Solution Filter or Valve
Most ride-on scrubbers have a clogged filter between the solution tank and the water valve that traps mineral deposits and debris over time. Remove and rinse it weekly, or more frequently if you're running the machine on high-mineral water. If the filter is clear but water flow is still restricted, the solenoid valve itself may need inspection, it can stick closed if it hasn't been flushed regularly.
Damaged Hoses or Blockages in the Water Line
Trace the hose from the solution tank to the brush deck and look for kinks, cracks, or compression damage. A clogged hose can often be cleared by disconnecting both ends and flushing with clean water. A cracked hose needs to be replaced, running with a compromised hose leads to inconsistent dispensing water across the brush deck and leaves some areas of the floor unclean.
Machine Is Not Picking Up Water (Poor Recovery)
Leaving wet floors behind isn't just a cleaning failure, it's a slip hazard. If your machine is scrubbing but not recovering, address it immediately.
Recovery Tank Is Full
Check the recovery tank first. When it reaches capacity, the vacuum system shuts off automatically to prevent overflow. Empty the tank, rinse it out, and check that the float indicator (if your machine has one) moves freely and isn't stuck in the full position.
Damaged or Misaligned Squeegee Blades
The squeegee is the first thing to inspect if the tank is empty and recovery is still poor. Worn blades or a blade that's sitting unevenly against the floor won't form a proper seal, and dirty water will be left behind in streaks or patches. Inspect squeegee blades for cracks, nicks, or a curved edge that no longer lies flat. Most blades are reversible, flip to the unused edge before replacing entirely. When reinstalling, confirm the blade sits level and applies even contact across its full width.
Clogged or Leaking Vacuum Hose
Detach the vacuum hose and check for debris blockages, small chunks of debris, paper, or buildup can restrict airflow enough to cut suction significantly. Run your hand along the hose to feel for cracks or soft spots; any air leak between the squeegee and the vacuum motor will reduce recovery performance. If the hose is cracked or the damage is near a fitting, replace it, patching a vacuum hose rarely holds under sustained use.
Full Debris Tray Blocking Suction
On most ride-on models, a debris tray sits at the entry to the vacuum system to catch large particles before they reach the motor. A full tray acts like a plug and can cut suction entirely. Locate the tray (typically near the recovery tank access), empty it, and rinse it before reinserting. On shifts involving heavy debris loads, warehouse floors, construction cleanup, check it mid-shift rather than waiting until after.
Scrub Deck or Brush Not Engaging
If the machine moves but the brush deck doesn't activate, you're driving a very expensive transport cart. Work through these checks before assuming a mechanical failure.
Low Battery Restricting Brush Deck Activation
Most battery-powered ride-on scrubbers are programmed to protect the battery by cutting power to the brush motor before they cut drive power. If you're near the end of a charge cycle and the brush deck suddenly stops engaging, battery protection is the likely cause, not a mechanical fault. Charge to 100% and retest.
Debris Wrapped Around or Jammed in the Brushes
Wire, pallet wrap, cable ties, hair, and string are the most common culprits. Even a small amount of material wrapped tightly around the brush axle can stall the brush motor or trigger a safety shutoff. With the machine off and unplugged, inspect the brush deck and manually remove any wrapped material using a utility knife or scissors. Never attempt to clear brush debris with the machine powered on.
Damaged Belt, Fuse, or Mechanical Component
If the battery is fully charged and the brushes are clear, the problem is likely internal, a blown fuse, a broken drive belt, or an electrical fault in the brush deck circuit. At this point, you're past operator-level diagnostics. Consult a technician rather than disassembling the deck yourself, especially if the machine is under warranty.
Poor Scrubbing Results
The machine is running, the brushes are spinning, the floor is getting wet, but it's still not clean. This is usually a consumables or settings issue, not a mechanical one.
Wrong Brush or Pad for the Floor Type
Using the wrong brush or pad is one of the most common reasons a working machine produces poor results. Cylindrical brushes work well on grout lines and uneven floors; disc pads are better for smooth, flat surfaces. Aggressive scrubbing pads are appropriate for concrete and heavily soiled floors, but they'll strip finish or leave scratches on waxed surfaces. Match the pad driver and brush to your floor type before blaming the machine.
Incorrect Pad Pressure Settings
Pad pressure settings control how hard the brush or pad pushes against the floor. Too little pressure on a heavily soiled floor and the machine glides over the soil without breaking it up. Too much on a finished floor and you risk scratching the surface or burning through the wax. Adjust pad pressure through the control panel and make a note of the setting that works for each floor type in your facility.
Wrong Cleaning Chemical or Dilution Ratio
Alkaline cleaning chemicals work best for concrete and oil-contaminated floors; neutral cleaners are the correct choice for finished or waxed surfaces where high pH would break down the coating. Beyond the incorrect cleaning solution choice, the wrong dilution ratio is equally damaging, too dilute and it won't lift soil, too concentrated and it leaves residue that attracts more dirt. Always measure and follow the manufacturer's recommended ratio for the chemical being used.
Worn or Damaged Pads That Need Replacing
A worn pad loses its abrasive texture and becomes smooth, at that point, it's essentially polishing the floor rather than scrubbing it. If you're applying correct pressure and the right chemical but still getting poor results, pull the pad and inspect it. Under regular commercial use, pads typically need replacement every 10–15 hours of scrubbing time, though this varies by floor type and soil load.
Machine Won't Drive or Steer Properly
A ride-on that doesn't move correctly is a safety issue, not just an inconvenience. The machine's size and weight make it dangerous to operate if steering or traction is unreliable.
Battery Charge Too Low to Power the Drive System
Just as with the brush deck, the drive motor on some models is protected by a low-battery threshold that restricts or disables traction before the battery reaches full discharge. If the machine moves sluggishly or not at all, check battery charge first. Full charge, then retest.
Traction Drive Issues or Mechanical Fault
If battery charge isn't the issue, the problem may be in the traction drive itself, a worn drive belt, a failing drive motor, or a fault in the drive circuit. Signs include grinding, jerking movement, or a machine that drives in one direction but not the other. These aren't operator-serviceable issues; bring in a technician.
Machine Too Large for the Space Being Cleaned
This isn't a malfunction, it's a mismatch. Ride-on scrubbers are designed for open floor areas of 20,000 square feet or more. In tight corridors, around equipment clusters, or in spaces with frequent turns, a ride-on becomes difficult to maneuver and inefficient. If this is a recurring issue, a walk-behind scrubber is likely the more practical tool for that zone.
Short Battery Run Time
Run time degradation affects productivity directly. If your machine is finishing shifts early or failing to cover its expected square footage, one of these four causes is usually responsible.
Battery Wasn't Fully Charged Before Use
Starting a shift on a partial charge is the most preventable cause of short run time. Make it a standing rule: every machine gets charged to 100% at the end of every shift, not the beginning of the next one. Charging at the start of a shift rarely gets to full capacity in time.
Pad Pressure Set Too High for the Floor
Excessive pad pressure draws significantly more current from the battery, especially on harder floors where the motor has to work against greater resistance. If run time dropped after changing floor zones or pad types, check whether pad pressure settings were adjusted to match the new surface.
Battery Is Old and Needs Replacement
Both lead acid and lithium battery types degrade over charge cycles. Signs of a battery that's past its service life include noticeably reduced run time even on a full charge, heat during charging, and slow charging that doesn't reach full capacity. Check battery voltage against the manufacturer's specs, a battery that tests low at rest or under load needs replacement, not another charge cycle.
Opportunity Charging Is Degrading Battery Life
Plugging in for 20 minutes between tasks feels productive, but it shortens overall battery life, particularly for lead acid batteries, which are damaged by partial charge cycles. Train operators to run the battery through its full discharge and charge cycle rather than topping it off mid-shift. Consistent opportunity charging can cut a battery's total service life by a third or more.
Ride-On Floor Scrubber Maintenance Checklist to Prevent Breakdowns
The problems above are largely preventable. A consistent pre- and post-use routine catches most issues before they become failures.
|
Task |
Frequency |
What to Check |
|
Empty and rinse recovery tank |
After every use |
No residue, float moves freely |
|
Fill solution tank to fill line |
Before every use |
Correct tank, correct fill level |
|
Inspect and clean squeegee blades |
After every use |
No cracks, level against floor |
|
Remove and clean brushes/pads |
After every use |
No debris wrapped around brush, no excessive wear |
|
Empty debris tray |
After every use |
Clear of large debris |
|
Check and charge battery |
After every use |
Charge to 100% before next shift |
|
Inspect hoses and connections |
Weekly |
No cracks, kinks, or loose fittings |
|
Clean solution filter |
Weekly |
Free of buildup and blockage |
|
Check pad pressure settings |
Weekly |
Appropriate for current floor type |
|
Inspect battery terminals and wiring |
Monthly |
No corrosion, loose connections, or frayed wires |
|
Full machine inspection / service |
Annually (or per manufacturer schedule) |
Belts, motors, drive system, electrical |
When to Call a Service Technician Instead of DIYing the Fix
Operator-level troubleshooting covers most of the issues in this guide, battery checks, tank maintenance, squeegee replacement, debris removal, and settings adjustments. When you've worked through those checks and the problem remains, it's time for professional repair.
Specifically, call a technician for: blown fuses, traction motor or brush motor faults, cracked vacuum hoses on machines under warranty, solenoid valve replacement, and any electrical fault that can't be traced to the battery, terminals, or power cord. Attempting DIY repairs on warranted machines, especially opening the motor housing or splicing electrical connections, can void the warranty and create liability if the machine is later involved in an incident. When in doubt, document what you checked and let a certified technician take it from there.
Shop Ride-On Floor Scrubbers and Replacement Parts at PS Janitorial
PS Janitorial carries a full selection of ride-on floor scrubbers, including new and refurbished models, along with the replacement parts that keep them running: squeegee blades, brushes and pads, pad drivers, batteries, and more. Whether you're outfitting a new facility or sourcing parts for a machine that's already in service, our inventory covers the most common ride-on models and their consumables. Browse the ride-on scrubber lineup at our website or contact us directly if you need help matching a part to your machine.