
Why Does Floor Finish Turn Yellow After Floor Stripping
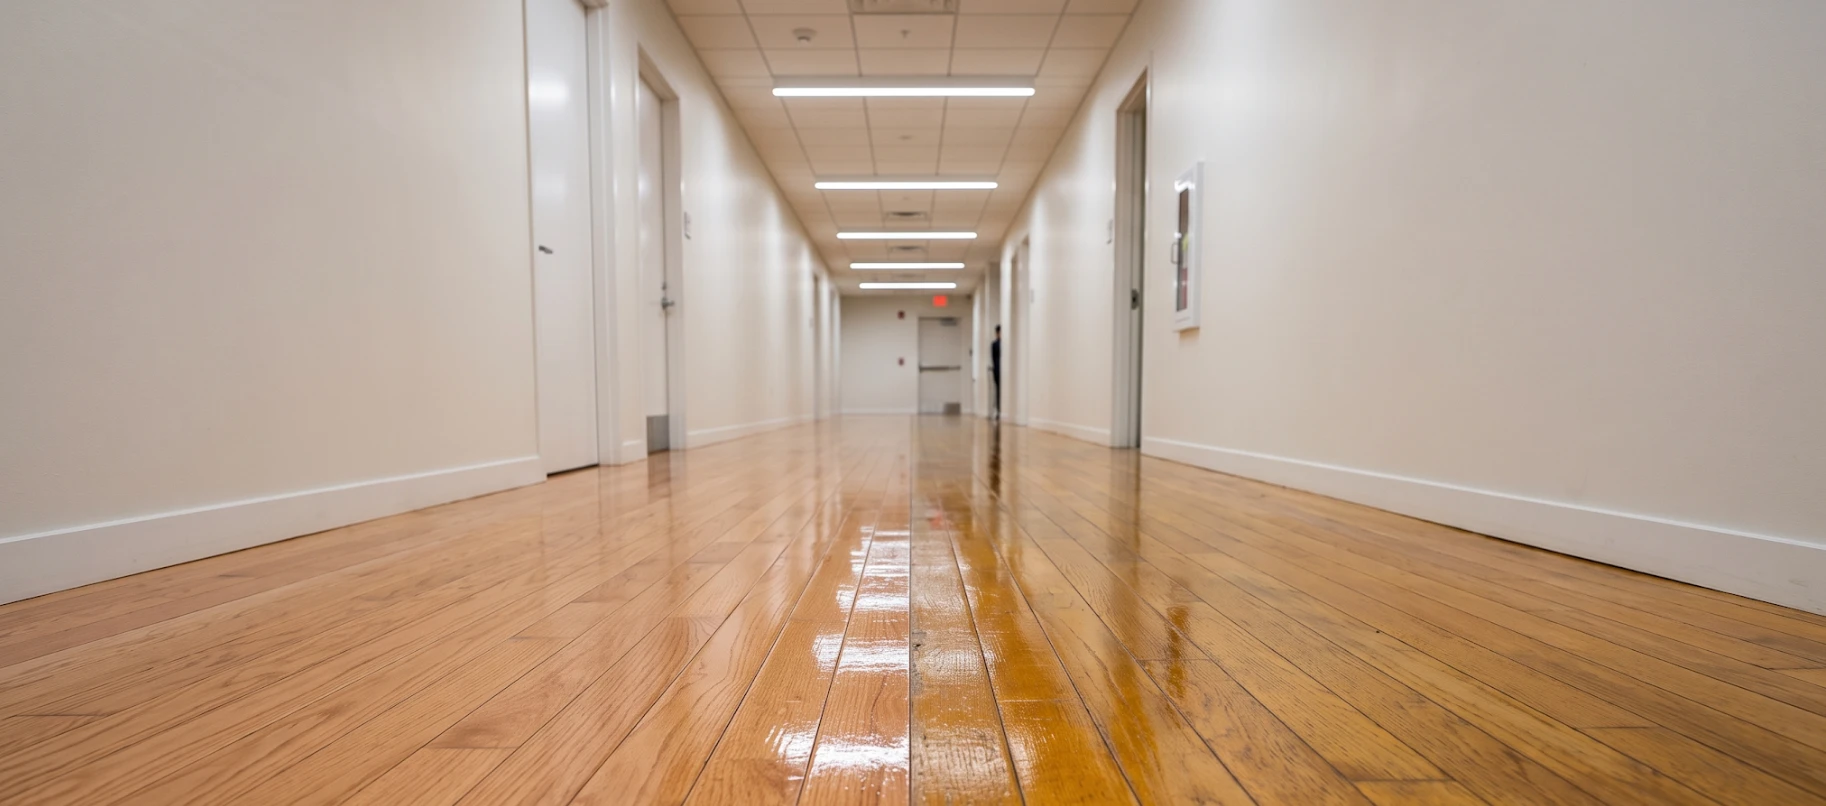
You just paid for a full strip and refinish. The crew pulled out the old wax, the floor sat bare and clean for a few hours, and a fresh coat went down looking bright and glossy. Then a week later, or sometimes the very next day, you notice it. An amber tint creeping across the surface, or yellow streaks pooling near the entryway, or a dingy cast that makes the whole room look older than it did before the job even started.
It is tempting to guess that the finish itself is bad, or that the floor is just old and tired. Almost never true. Floor finish turning yellow after floor stripping is a symptom, not a random accident. Something got trapped in the finish, under it, or reacted with it during the job. The good news is that every one of those causes leaves a pattern you can actually read. This article will walk you through how to diagnose exactly what happened on your floor, what is causing it, and how to fix it and keep it from happening again.
How to Read the Pattern: Where Is the Yellowing Showing Up
Before you touch a mop or call for another strip, look at where the yellow is actually sitting. The location and shape of the discoloration point almost directly at the cause, the same way a doctor reads symptoms before ordering a test.
Yellowing Concentrated Near Windows or Skylights
If the yellow tint is strongest right under windows or skylights and fades as you move into the interior of the room, you are most likely looking at UV light exposure. Sunlight breaks down certain polymers in floor finish over time, the same chemical reaction that turns old newspaper or plastic yellow with age.
Yellowing Worst in Entryways and High Traffic Lanes
When the discoloration is heaviest at the door and along the paths people actually walk, dirt is almost always the culprit. Grit, oil, and soil tracked in on shoes get ground into the finish daily, building a layer that looks yellow or dingy long before the finish itself has aged.
Yellow Patches Shaped Like Mats or Furniture
A yellow patch shaped exactly like a mat, a chair leg, or a piece of furniture is one of the clearest signals in this whole list. That means something was set on the finish before it fully cured, trapping moisture and preventing that spot from hardening the same way the rest of the floor did.
Hazy Streaks That Appeared Right After Stripping
If the yellow or hazy streaks showed up within a day or two of the job, before daily foot traffic could possibly explain it, the stripping and rinsing process itself is the likely source. Leftover stripping solution left on the surface can react with new finish almost immediately.
An Even Amber Tint Across the Whole Floor After a Fresh Coat
An even, uniform amber cast across the entire floor, appearing the same day the new coat was applied, usually points to the finish itself. Old, contaminated, or low quality finish can go on with an off color from the very first application.
The Main Causes of Floor Finish Yellowing After Stripping
Floor Not Fully Rinsed After Stripping
This is the cause most often missed, and it comes down to chemistry. High alkaline strippers typically sit at a pH of 11 to 14, while most floor finishes are formulated to be closer to a pH of 8 or 9. When stripper residue is not fully rinsed and neutralized, that gap in pH triggers a chemical reaction with the new finish as it cures. The result is often a milky or cloudy look right after rinsing, followed by yellow streaks once the new coat goes down. High pH cleaners left on the surface can chemically damage the finish in the same way, so this is not just a one time stripping issue.
The fix starts with your rinse equipment. An auto scrubber paired with a neutral cleaner gives you consistent, even rinsing across the entire floor, pulling alkaline residue out of the surface instead of leaving it to react. Always rinse the floor completely and check pH before laying down any new finish.
Residual Finish Left Behind During the Stripping Process
An incomplete strip leaves shiny patches or slightly raised spots where old finish never actually came up. New finish applied over those leftover patches cures unevenly, and the buildup underneath often reads as a darker or yellow toned area once the job is done. A simple thumbnail test, pressing a nail or coin into a suspect patch, will tell you if there is still old finish sitting there. If you find residue, the area needs to be stripped again before a fresh coat goes on.
Dirt and Soil Ground Into the New Finish
Across almost every source on this topic, dirt is the single most common cause of yellowing. A dirty mop, dirty rinse water, or a worn buffing pad does not clean the floor, it just redistributes soil across the surface. Over weeks of daily cleaning with dirty tools, that soil becomes embedded in the finish itself, and the floor takes on a dingy, dirty yellow appearance even though it was mopped regularly.
This is where equipment quality actually matters. A floor scrubber with the right pad does a deep scrub instead of pushing dirt around, and using clean mops, clean buckets, and clean pads every time prevents grit and oil from ever working their way into the surface in the first place.
Finish Applied Before the Floor Fully Cured
Finish can feel dry to the touch within an hour or two, but dry to the touch and fully cured are two very different things. Full curing typically takes around 24 hours. If mats, furniture, or heavy foot traffic land on the finish before that window closes, moisture gets trapped underneath and that exact spot discolors, often producing the mat shaped or furniture shaped yellow patches covered earlier in this article.
UV Light and Natural Oxidation
Even a perfectly applied finish will change over time simply from sitting in the sun. UV light exposure causes certain polymers in floor finish to oxidize and yellow, the same reaction you see in old plastic left in a window or paper that has spent years in direct light. This kind of yellowing tends to build slowly, over months or years, rather than appearing overnight. Newer, water based finishes formulated with UV inhibitors resist this kind of discoloration far better than older or lower grade products, so the finish you choose matters as much as how you apply it.
Old, Contaminated, or Low Quality Finish
Finish has a shelf life. Older formulas, particularly styrene heavy finishes, are more prone to yellowing straight out of the bucket, and a contaminated bucket or applicator can introduce discoloration before the finish ever touches the floor. If the yellow tone appears uniformly across the entire floor on the same day the coat was applied, rather than building gradually, the finish itself is the most likely source rather than anything in your cleaning process.
Recoating Without a Full Strip
Screen and recoat programs are efficient and useful, but they only work if the layers underneath are clean. Recoating on top of old, oxidized finish and trapped soil seals that layer in rather than removing it. Over several cycles, that buildup shows through as a deep yellow or even brown cast, since each new coat you add just adds another layer over the same trapped problem instead of solving it.
Is It Wear, or Is It a Workmanship Problem
It helps to separate natural wear from an actual mistake in the stripping or application process. Natural wear looks like a slow, even fade caused by UV light and gradual traffic soiling over months or years, and it is a normal part of owning a hardwood floor or any finished surface that sees regular use. A workmanship problem looks different. It shows up fast, often within days of a job, and it tends to follow a specific pattern, like the streaks from poor rinsing or the mat shaped patches from a curing issue. If your yellowing showed up almost immediately after a strip and refinish, question the process and the equipment used on that job before you assume your maintenance schedule is the problem.
How to Fix Floor Finish That Has Already Yellowed
Scrub and Recoat for Light to Moderate Yellowing
When the discoloration is surface level, a full strip is not always necessary. A deep scrub with a PS Janitorial auto scrubber and the right floor pad can remove the top layer of soil and haze, giving you a clean surface for a new coat without tearing the job down to bare tile or bare wood. This option is faster and far less disruptive to a business that cannot afford to shut down a room for a full day.
Full Strip and Refinish for Deep or Stripper Induced Yellowing
If the yellowing goes deeper, or if it was caused by a chemical reaction with stripper residue, scrubbing the surface will not solve it. The job needs to go back down to bare floor. That means a complete strip, a full rinse to bring the surface back to a neutral pH, and a fresh coat of finish applied in thin, even layers. PS Janitorial floor strippers, auto scrubbers, and wet vacuums are built to handle exactly this kind of job, giving you clean water pickup and a properly neutralized surface before any new finish goes down.
How to Prevent Yellowing on Your Next Strip and Refinish
Rinse Stripper Completely and Check pH Before Recoating
Never assume a rinse worked just because the floor looks clean. Thoroughly neutralizing the surface after stripping is what actually prevents the chemical reaction that causes yellowing, so check the pH before you commit to a new coat.
Use Clean Mops, Buckets, and Pads Every Time
Dedicated, clean equipment for every job avoids introducing contamination into new finish. A dirty mop or a reused bucket from a previous job can undo an otherwise perfect strip and refinish.
Let Finish Cure Fully Before Returning Mats and Furniture
Give new finish a full 24 hours before returning mats, furniture, or heavy traffic to the room. Allowing adequate curing time is one of the simplest and most overlooked ways to avoid discoloration.
Scrub Before Every Recoat Instead of Sealing In Dirt
Treat every recoat like a small deep scrub, not just a quick pass. Sealing dirt under a new layer is how buildup turns into a yellow or hazy floor over several cycles.
Choose a Quality Finish With UV Inhibitors
Not all finish is equal. A quality, water based finish with UV inhibitors will resist yellowing near windows and under skylights far longer than an older or lower grade product.
Use the Right Equipment for the Job
Good process only goes as far as the equipment behind it. PS Janitorial's lineup of floor strippers, auto scrubbers, floor buffers, and pads is built to handle every stage of this job, from the initial strip through the daily cleaning that keeps a fresh coat looking bright for years instead of months.
Frequently Asked Questions
Why is my floor finish yellow after stripping and refinishing
The most common causes are leftover stripper residue that was not fully rinsed, dirt worked into the new finish, finish applied before the floor cured, or a low quality finish that was off color from the start.
Does floor finish yellow on its own over time
Yes. UV light exposure and natural oxidation cause certain polymers in finish to yellow gradually over months or years, even with good maintenance.
Can you fix yellowed floor finish without stripping it again
If the yellowing is light to moderate and sitting on the surface, a deep scrub and recoat can often solve it. Deep or stripper induced yellowing usually requires a full strip and refinish.
Why did my floor turn yellow under mats or furniture
This almost always means something was placed on the finish before it fully cured, trapping moisture in that exact spot and preventing it from hardening evenly with the rest of the floor.
How do I prevent floor finish from yellowing after a strip
Rinse the stripper completely and confirm a neutral pH, use clean equipment for every step, let the new finish cure a full 24 hours before returning furniture, and choose a finish built with UV inhibitors.
Clear Finish Is a Result, Not a Guess
Yellowing after a strip and refinish feels frustrating, but it is rarely a mystery once you know what to look for. Whether it is stripper residue that never got rinsed out, dirt ground into the finish over weeks of daily cleaning, or a coat applied before the floor was ready, the pattern on your floor will tell you exactly where to start. With the right process and the right equipment behind every step of the job, from the first strip to the daily scrub, a fresh coat can stay bright and clear for the long haul. Take a look at PS Janitorial's floor scrubbers, strippers, and pads to get every stage of that process covered.